A clogged or stuck faucet aerator is one of the most common causes of weak water flow from a kitchen or bathroom faucet. Removing and cleaning it takes less than 20 minutes and requires no plumbing experience.
This article walks through exactly how to loosen a stuck faucet aerator, clean out mineral deposits and debris, and reinstall it without damaging the faucet threads.
Why Faucet Aerators Get Stuck
Aerators mix air into the water stream to reduce flow without affecting pressure. Over time, hard water minerals — primarily calcium and magnesium carbonate — build up inside the aerator screen and around the threading that secures it to the faucet spout. This mineral scale is what makes aerators difficult to unscrew by hand.
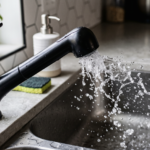
In areas with hard water (above 120 mg/L or 7 grains per gallon), aerator screens can become partially blocked within 6–12 months of installation. Sediment from corroded pipes or a municipal supply flush can accelerate clogging further. If your faucet is sputtering or spraying unevenly, a blocked aerator is the first thing to check before investigating pressure or pipe issues.
What You Need Before You Start
- Adjustable pliers or slip-joint pliers
- A rubber grip pad, thick rubber band, or cloth (to protect the aerator finish)
- White distilled vinegar
- A small bowl or cup
- An old toothbrush or small stiff-bristle brush
- Plumber’s tape (PTFE tape) — optional but recommended for reassembly
Step 1: Shut Off the Faucet and Plug the Drain
Turn the faucet handles fully off. Place a rag or drain stopper in the sink basin. Aerators contain small mesh screens, rubber washers, and flow restrictors — any of these can fall directly into an open drain during disassembly.
This step takes 10 seconds and prevents losing a component that is not always sold separately from the aerator housing.
Step 2: Attempt Hand-Removal First
Most standard aerators unscrew counterclockwise. Try gripping the aerator body with your fingers and turning it counterclockwise before reaching for tools.
If the aerator has not been removed in over a year, hand removal is unlikely to work on the first attempt. Do not force it with bare hands — fingernails and grip strength alone can strip a plastic aerator housing. Move to Step 3 if it does not budge.
Step 3: Use Pliers With Protection to Loosen the Stuck Aerator
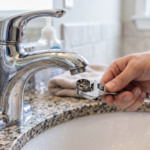
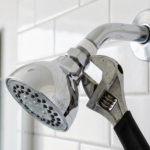
Wrap the aerator with a rubber grip pad, a thick folded cloth, or several layers of a rubber band before applying pliers. This protects the chrome or brushed nickel finish from jaw marks.
Grip the aerator body — not the faucet spout — with adjustable pliers. Apply firm, steady counterclockwise pressure. Do not jerk or use excessive force. If it still will not move, the aerator threads are likely seized with mineral scale and need chemical softening before mechanical force will work.
When the Aerator Is Fused With Scale
Apply white distilled vinegar directly around the base of the aerator where it meets the faucet threads. Soak a small cloth or paper towel in vinegar and wrap it around the aerator, securing it with a rubber band. Leave it in place for 20–30 minutes. The acetic acid in vinegar dissolves calcium carbonate scale without damaging most faucet finishes.
After soaking, try the pliers again. In cases where the aerator has not been removed in several years, a second 30-minute vinegar soak may be necessary before the threading releases. This same approach is used to clean a faucet aerator to fix low water pressure when the screen is blocked but the aerator itself is not yet seized.
Step 4: Disassemble the Aerator and Clean Each Component
Once the aerator is off, unscrew or pull apart the housing to separate its components. A standard aerator contains:
- The outer housing (threaded sleeve)
- A flow restrictor disc (often bright red or white plastic)
- One or two wire mesh screens
- A rubber or plastic washer
Inspect each piece. Mesh screens clogged with white or gray mineral scale appear chalky or have visibly reduced open area. A flow restrictor with heavy scale buildup can reduce flow by 30–50% even when the mesh screens appear clean.
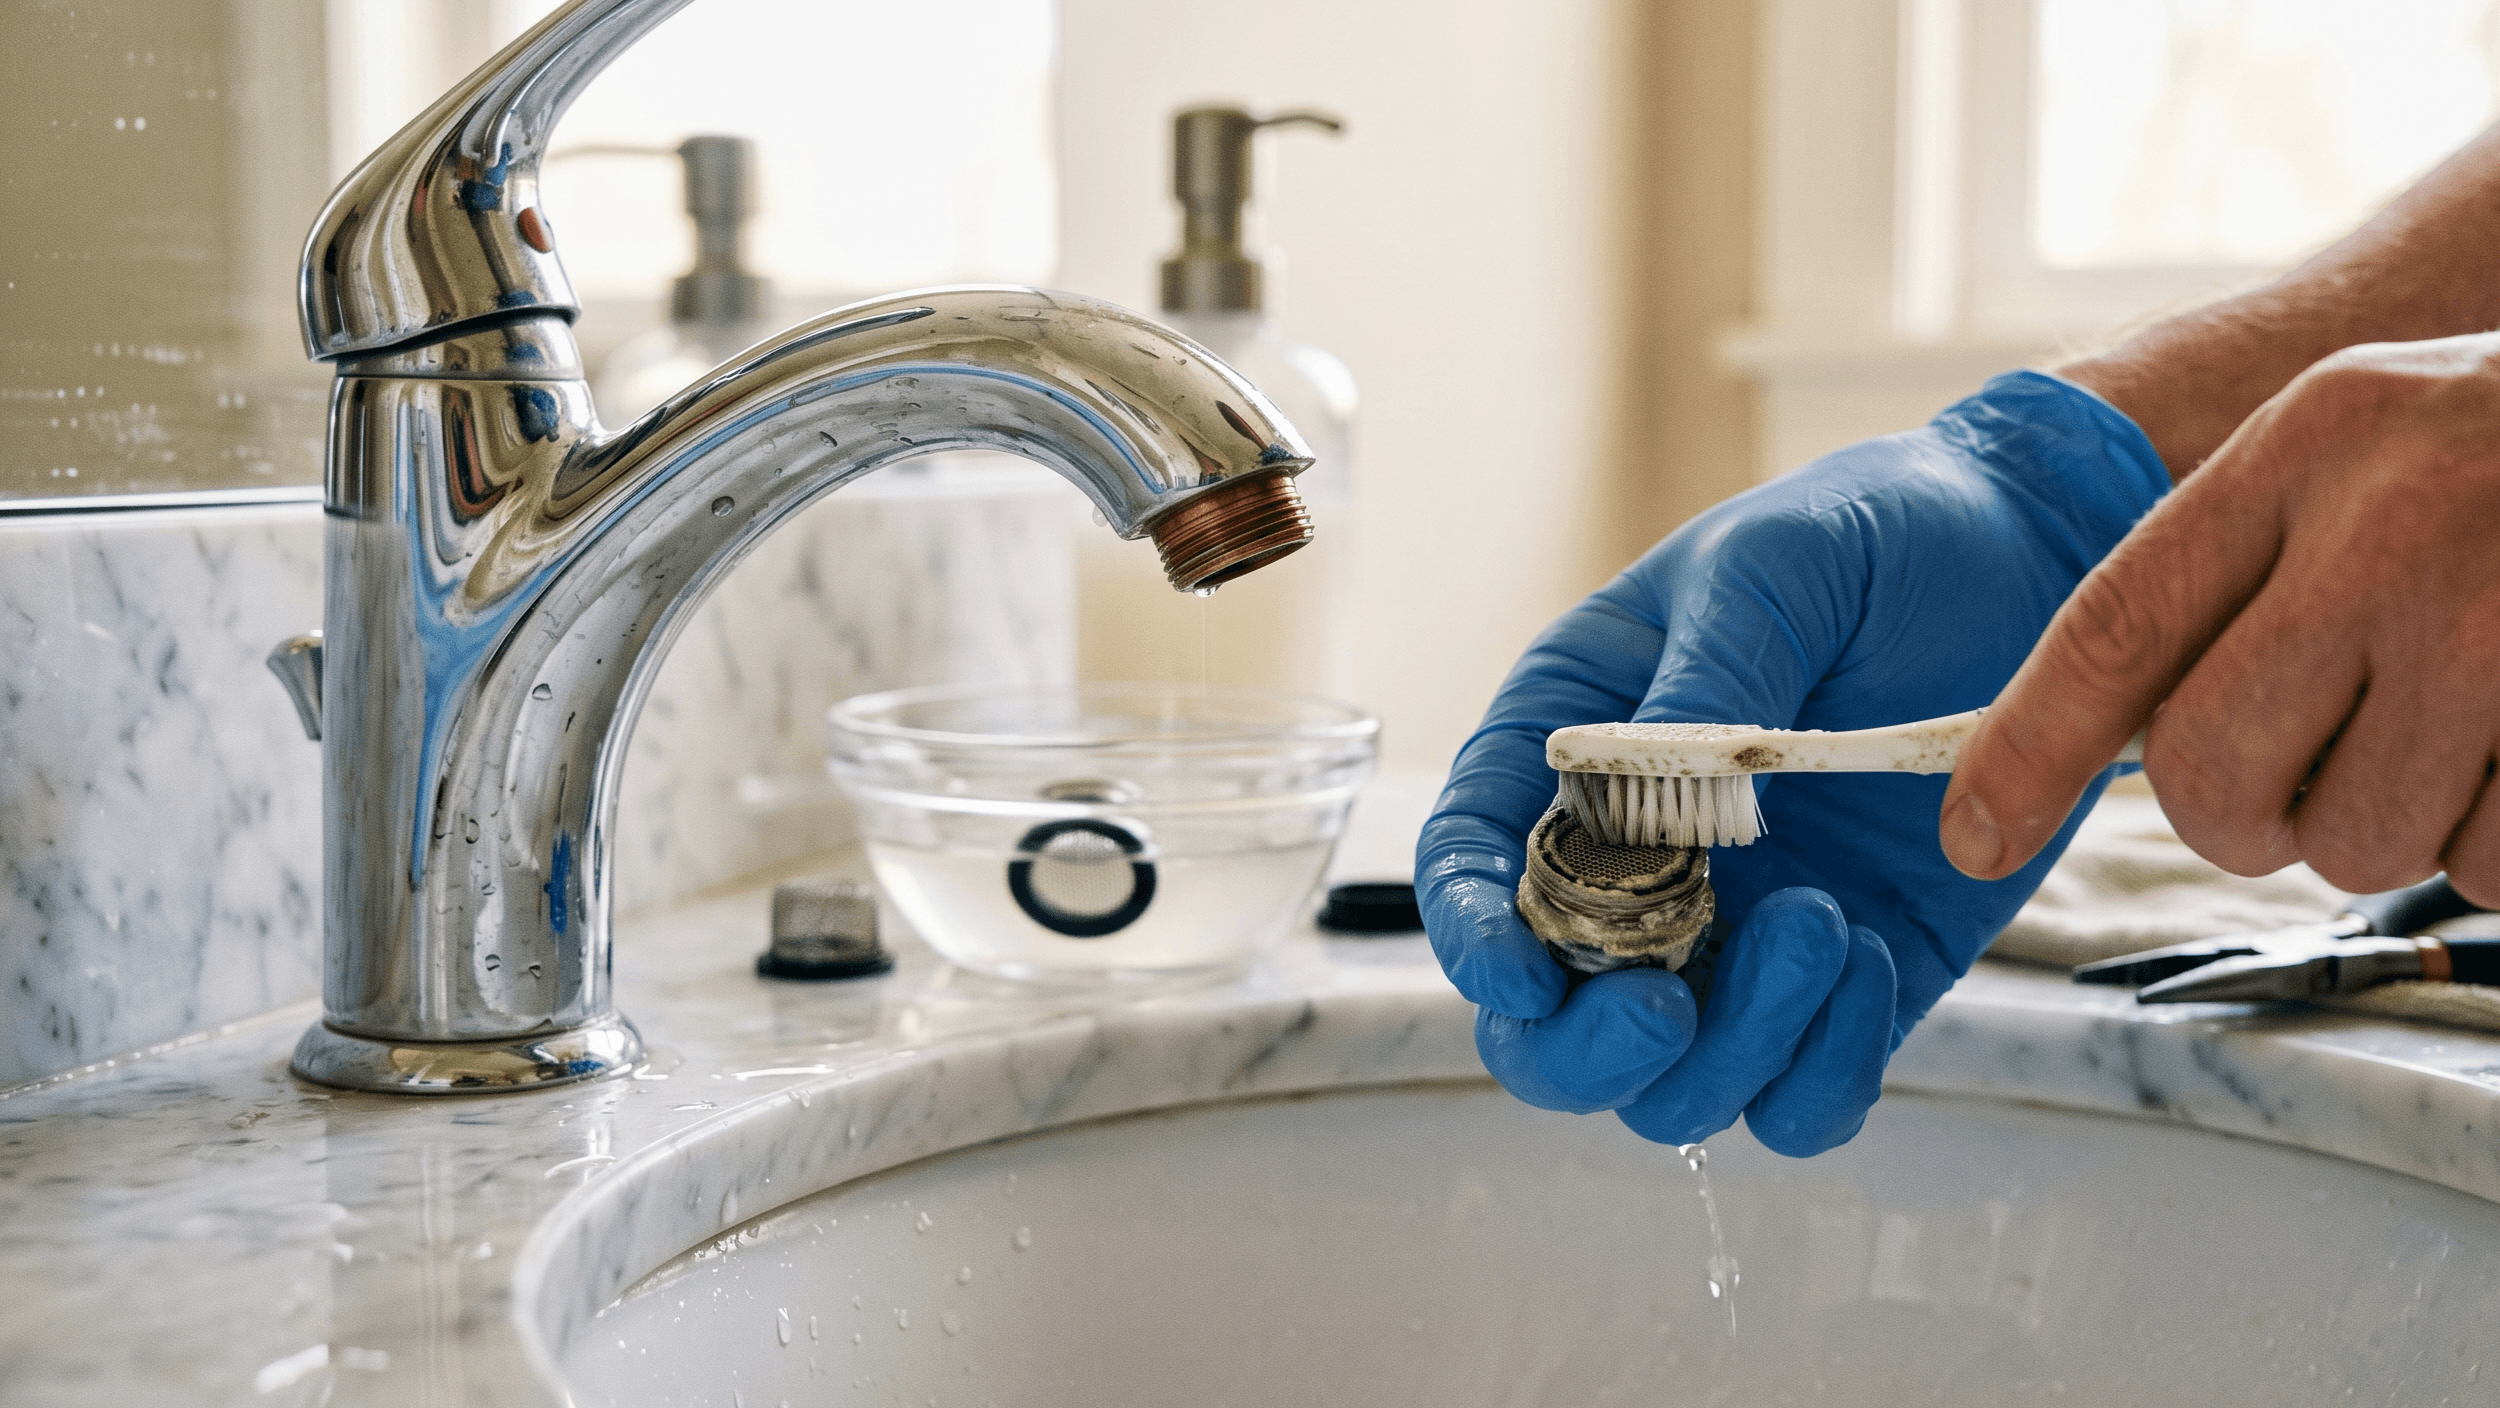
Place all components in a small bowl and submerge them in undiluted white vinegar for 15–30 minutes. For heavy scale, use a bowl of equal parts white vinegar and water heated to approximately 50°C (120°F) — warm liquid increases dissolving speed. After soaking, scrub each piece gently with an old toothbrush. Rinse thoroughly under running water.
Do not use steel wool or abrasive scrubbers on mesh screens — they distort the wire mesh and alter the flow pattern.
Step 5: Reinstall the Cleaned Aerator
Check the faucet spout threads for any remaining mineral deposits before reinstalling. Wipe the threads with a vinegar-dampened cloth and rinse.
Optionally, wrap the faucet’s external threads with one layer of plumber’s PTFE tape before reattaching the aerator. PTFE tape fills micro-gaps in the thread connection, reduces the chance of the aerator seizing again, and makes future removal easier — the aerator is less likely to fuse with the spout over time.
Hand-tighten the aerator clockwise until snug. Do not overtighten with pliers — hand-tight with a final quarter-turn using rubber-padded pliers is sufficient. Overtightening can crack a plastic housing or deform the internal washer, causing leaks.
Turn the faucet on and check for leaks at the thread connection. If water seeps from the base of the aerator, tighten slightly. If flow is still weak after reinstallation, the issue is upstream — check water pressure elsewhere in your home to rule out a broader pressure problem.
When to Replace Instead of Clean
Not every aerator is worth cleaning. Replace the aerator if:
- The mesh screen has visible holes, tears, or permanent distortion after cleaning
- The rubber washer is cracked, flattened, or no longer flexible
- The plastic housing is cracked or the flow restrictor is broken
- The aerator has been in place for more than 3–5 years without removal
Standard aerators for kitchen and bathroom faucets cost $3–$12 at most hardware stores. Replacement is faster than extensive cleaning when components are degraded.
A comparison of aerator flow rates may also be worth checking when replacing. Standard aerators flow at 2.2 GPM (gallons per minute). WaterSense-labeled aerators flow at 1.5 GPM or less — a practical upgrade that reduces bathroom water use without remodeling or changing any other fixture.
How Often to Clean a Faucet Aerator
In homes with moderately hard water (7–12 grains per gallon), aerators benefit from cleaning every 6–12 months. In homes with very hard water above 15 grains per gallon, quarterly cleaning prevents the scale buildup that causes aerators to seize.
If your home has untreated hard water and you find yourself cleaning aerators frequently, the underlying mineral content is the root issue. A water softener versus conditioner comparison can help determine whether a whole-home treatment system makes sense for your situation.
Comparison: Cleaning Methods for Stuck Aerators
| Method | Best For | Time Required | Effectiveness |
|---|---|---|---|
| Pliers + rubber pad only | Moderately stuck aerator | 2–5 minutes | Moderate |
| Vinegar soak (20–30 min) | Mineral-seized aerator | 30–40 minutes total | High |
| Warm vinegar soak | Heavy long-term scale | 20–30 minutes + soak | Very high |
| Replacement | Damaged or very old aerator | 5–10 minutes | Complete reset |
FAQ
Can I use WD-40 to loosen a stuck faucet aerator?
WD-40 can help loosen a seized aerator by penetrating the thread connection and softening corrosion, but it leaves an oily residue that is difficult to fully remove from faucet threads. White vinegar is preferred because it dissolves mineral scale chemically without leaving residue that could affect water quality or thread re-adhesion. If vinegar fails after two soaks, a penetrating lubricant like WD-40 is a reasonable last resort — spray it around the base, wait 10–15 minutes, then attempt removal and clean the threads thoroughly before reinstalling.
What size aerator do I need to replace mine?
Most kitchen faucets use a standard 15/16-inch male thread (external thread on the spout) or 55/64-inch female thread (recessed inside the spout). Bathroom faucets typically use a 13/16-inch female thread. The easiest approach is to take the old aerator to a hardware store and match it directly, or look for the brand name stamped on the housing and check the manufacturer’s website for the exact spec. Aerator adapters are also available for non-standard thread sizes.
Why is my faucet still spraying sideways after cleaning the aerator?
Sideways spray after cleaning usually means one of the mesh screens was reinstalled at an angle, or the flow restrictor disc is seated incorrectly. Disassemble the aerator again and check that every component is flat, centered, and in the correct stacking order. Most aerator housings have a single correct orientation for the mesh screens — the finer screen typically faces up toward the water inlet, with the coarser screen below it.
Does a clogged aerator affect hot and cold water equally?
Yes. The aerator sits at the faucet outlet and mixes the combined water stream, so blockage affects the overall flow regardless of temperature. However, if you notice low hot water pressure while cold runs normally, the aerator is not the cause — that pattern points to a restriction inside the water heater system rather than the faucet outlet.
How do I remove an aerator with no visible edges to grip?
Some faucets use a cache or recessed aerator that sits flush inside the spout with no exterior threading. These require a dedicated aerator key — a small plastic or metal tool specific to the brand or faucet model. Moen, Delta, and American Standard each have their own key designs, often available for free from the manufacturer or for $5–$10 online. Insert the key into the recessed opening, engage the notches, and turn counterclockwise. The cleaning process after removal is identical to a standard aerator.