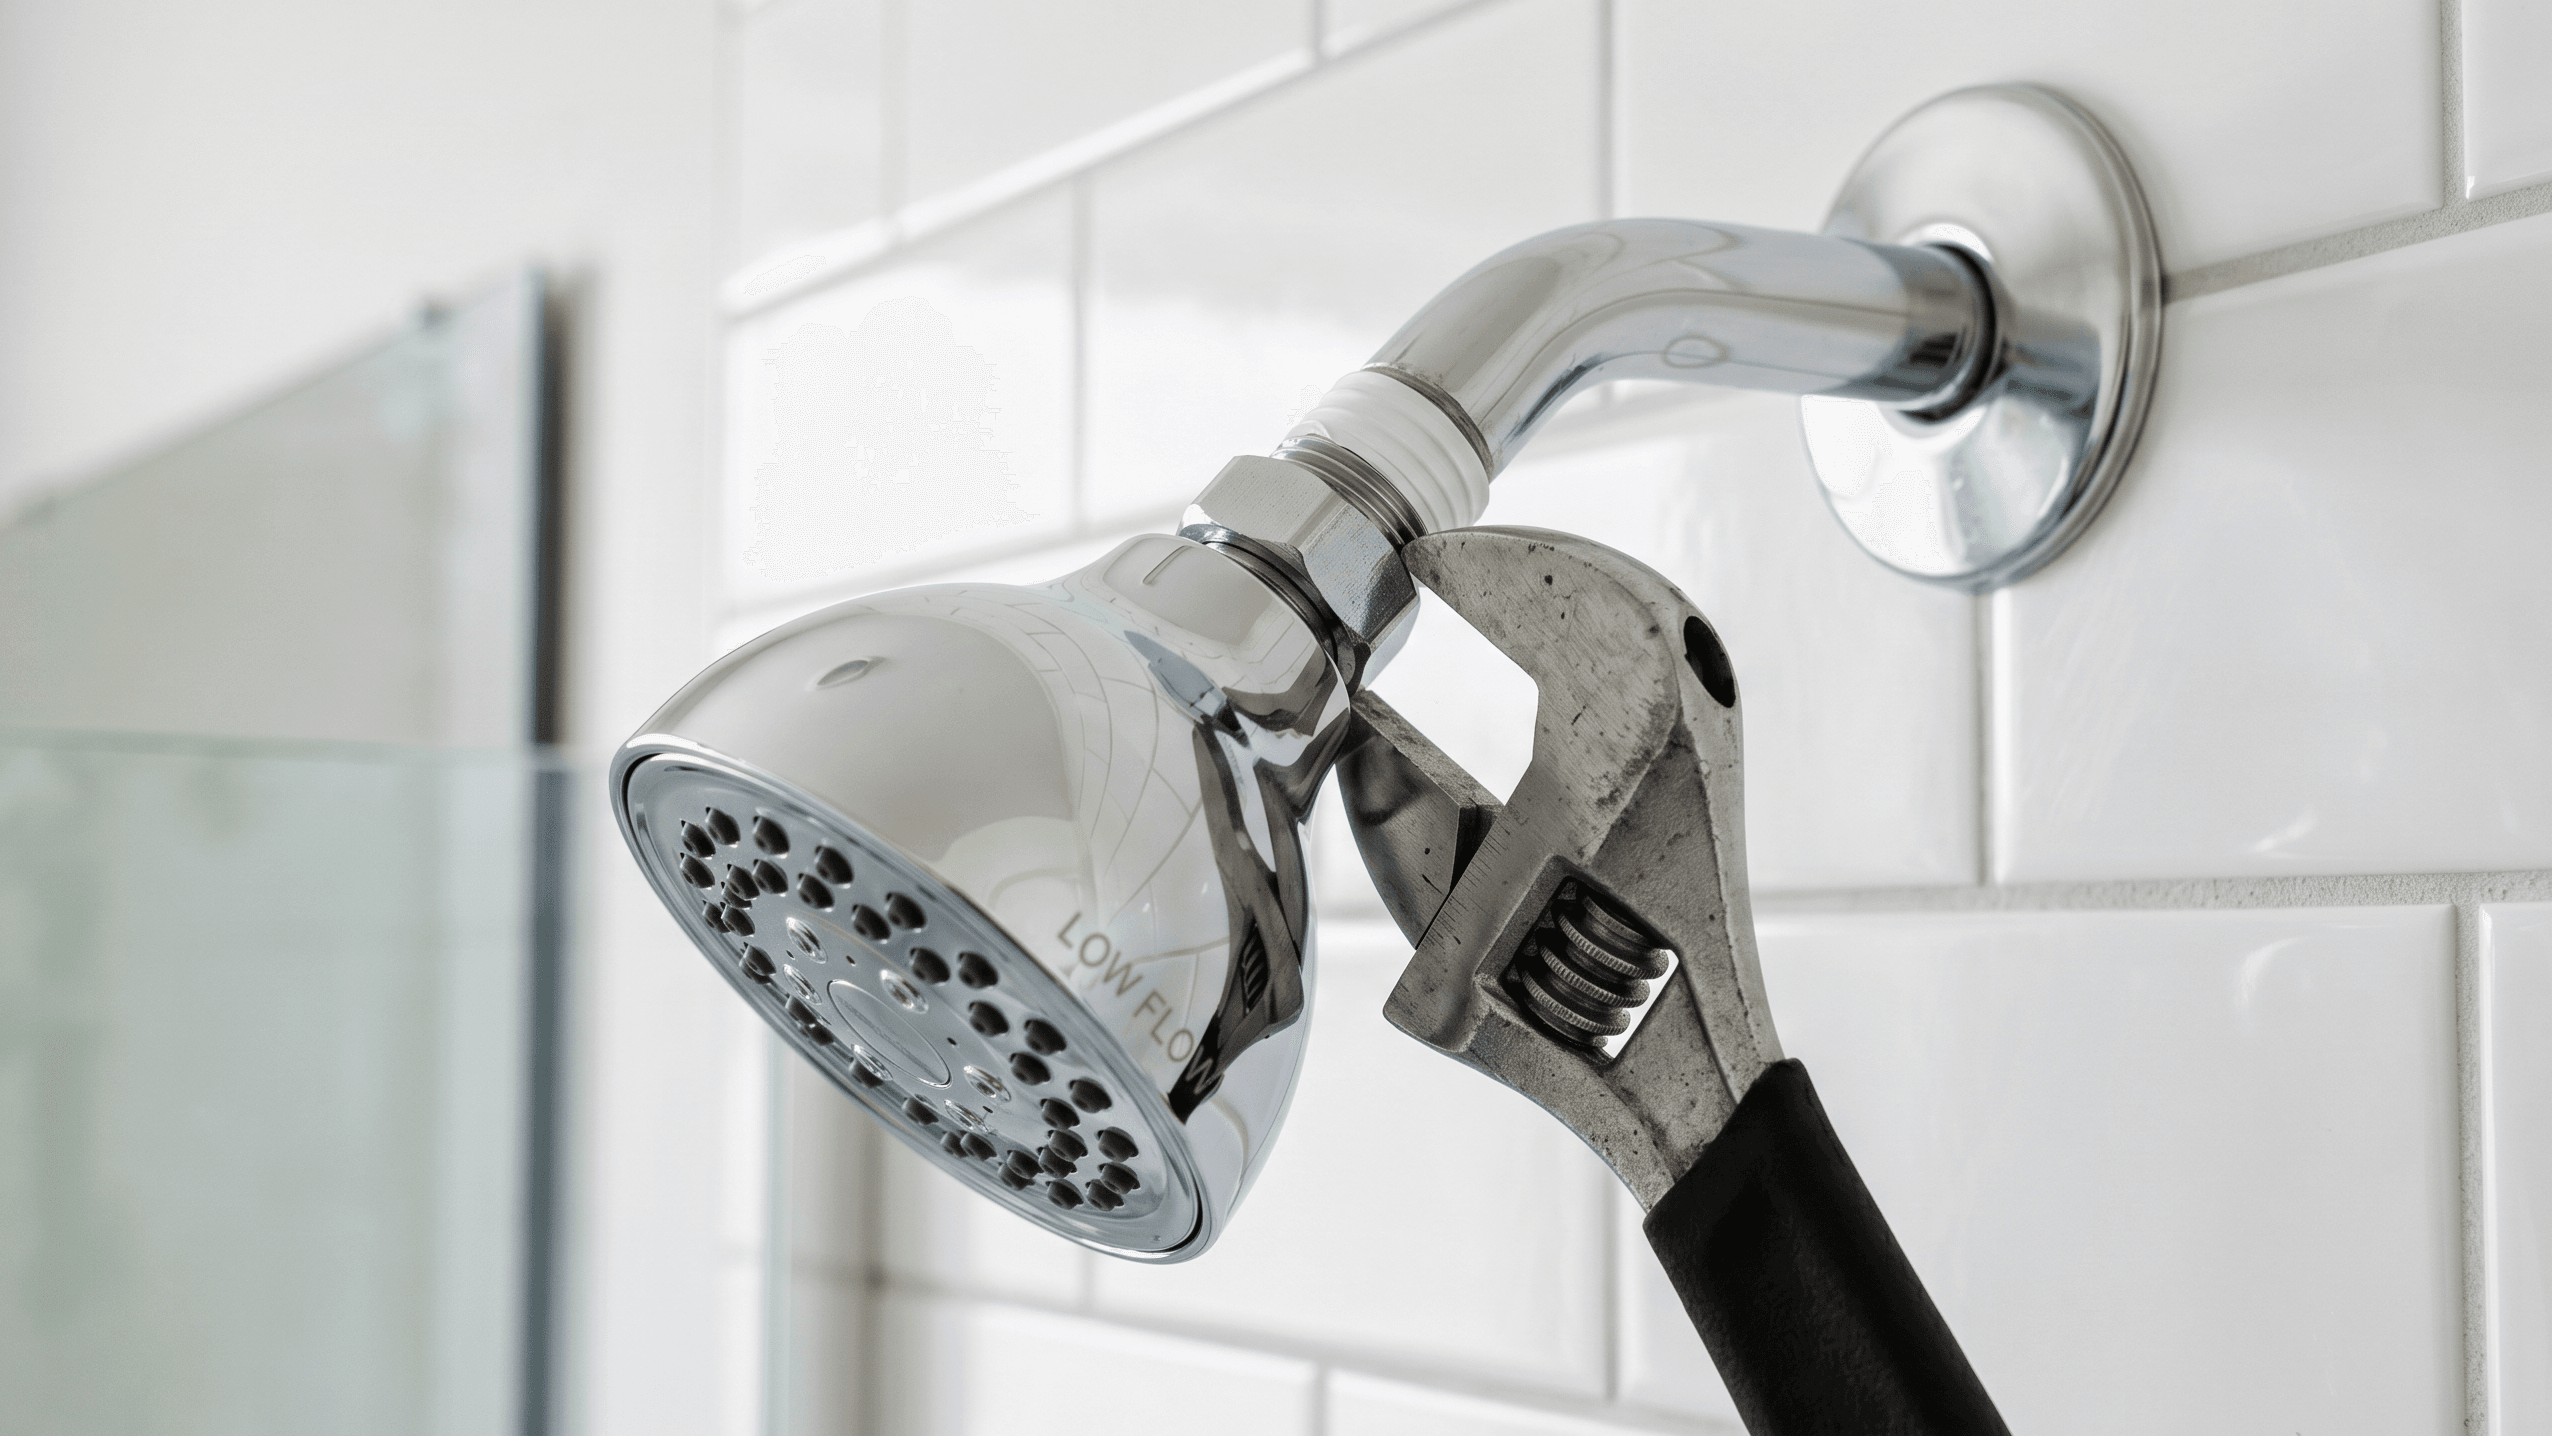
Installing a low-flow shower head in a rental is a straightforward, reversible upgrade that takes under 15 minutes and requires no special tools. Most renters avoid it because they assume plumbing changes violate their lease — but swapping a shower head is considered a minor fixture change in most jurisdictions, and it’s fully reversible before move-out.
A low-flow shower head uses 2.0 gallons per minute (GPM) or less, compared to the 2.5 GPM standard in older fixtures. That difference adds up to thousands of gallons saved per year per household, along with a measurable drop in hot water heating costs.
This guide covers everything from choosing the right fixture to re-installation of the original head — so you leave no trace and keep your deposit intact.
What Makes a Shower Head “Low-Flow”
A low-flow shower head is any fixture rated at 2.0 GPM or below. The U.S. Environmental Protection Agency’s WaterSense program certifies fixtures at 2.0 GPM that also meet minimum pressure performance standards, meaning they must feel satisfying even at reduced flow.
There are two main types:
- Aerating low-flow: Mixes air into the water stream to maintain pressure sensation. Water feels softer and slightly foamy. Works well in homes with average municipal pressure (40–60 PSI).
- Laminar-flow (non-aerating): Produces individual streams of water. Less steam, better for humid bathrooms. Preferred in climates where moisture buildup is a concern.
Some models also include a pause button that drops flow to a trickle while lathering — a small feature that saves an additional 1–3 gallons per shower without cutting off hot water entirely.
For renters specifically, look for models with a standard ½-inch NPT threaded connection, which fits virtually every residential shower arm in North America.
Before You Start: Check Your Lease and Water Pressure
Lease review: Most standard rental agreements prohibit “alterations” but distinguish these from reversible fixture swaps. Replacing a shower head — and keeping the original to reinstall — typically falls outside the definition of an alteration. When in doubt, send a quick email to your landlord. Most approve it without hesitation, and written permission removes any ambiguity.
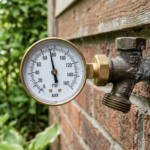
Water pressure check: Low-flow heads perform best between 40 and 80 PSI. If your building has low water pressure, a flow-restricting fixture will make it feel worse. Test pressure with an inexpensive gauge attached to the shower arm, or ask your building manager. If pressure runs below 40 PSI consistently, a pressure-compensating low-flow model (look for this on the label) is the better choice — it maintains spray quality across a wider pressure range.
If your hot water pressure feels noticeably weaker than cold, that’s a separate issue worth diagnosing — this breakdown of why hot water pressure runs low when cold pressure is fine explains the most common causes before you invest in a new fixture.
What You Need
- Low-flow shower head (WaterSense certified recommended)
- Adjustable wrench or slip-joint pliers
- Plumber’s tape (PTFE tape) — available at any hardware store for under $2
- A small cloth or rag (to protect the finish)
- A zip-lock bag and marker (to store the original head)
No soldering, pipe cutting, or wall access is involved. The entire job happens at the shower arm connection point.
Step-by-Step Installation
Step 1: Remove the existing shower head
Turn off the shower. The water supply does not need to be shut off at the main — shower fixtures do not have pressurized water flowing through the arm until the handle is turned.
Wrap a cloth around the collar of the existing shower head to protect the finish, then grip with pliers or a wrench. Turn counterclockwise (when facing the wall). Most heads come off with moderate hand pressure after the first quarter-turn loosens it.
If the head hasn’t been changed in years, corrosion or mineral buildup may make it stiff. A few drops of penetrating oil (like WD-40) applied at the threaded joint and left for 10 minutes usually resolves this. Avoid forcing it — stripped threads on the shower arm create a much bigger problem.
Once removed, place the original shower head in a labeled zip-lock bag and store it safely. This step is non-negotiable for renters.
Step 2: Clean the shower arm threads
Inspect the exposed threads on the shower arm. Wipe away old plumber’s tape, mineral deposits, or debris with a dry cloth. Clean threads ensure a watertight seal with the new head.
If there is visible mineral scale or buildup around the threads, a small brush dipped in white vinegar will dissolve it quickly. Rinse with water and dry before proceeding.
Step 3: Apply plumber’s tape
Wrap PTFE plumber’s tape clockwise around the threads of the shower arm — the same direction the new fixture will thread on. Apply 2–3 overlapping layers. This creates a watertight seal and makes future removal easier.
Do not skip this step. Hand-tightening without tape frequently results in slow drips that can damage the wall over time.
Step 4: Attach the new shower head
Thread the new shower head onto the arm by hand, clockwise. Turn until hand-tight, then use the wrench for a final quarter to half turn. Do not overtighten — excessive force can crack the collar or strip the arm threads.
Hold the arm steady with one hand while tightening with the other to avoid stressing the pipe inside the wall.
Step 5: Test for leaks
Turn on the shower and let it run for 30 seconds. Inspect the connection point closely. A properly sealed joint will show no dripping or moisture.
If a slow drip appears at the joint, turn off the water, add another layer of plumber’s tape, and re-tighten slightly. Most leaks at this connection are tape issues, not thread damage.
Flow Rate Comparison Table
| Fixture Type | Flow Rate (GPM) | Annual Water Use (1 shower/day) |
|---|---|---|
| Old standard (pre-1992) | 3.5–5.5 GPM | 25,000–40,000 gallons |
| Current standard | 2.5 GPM | ~18,000 gallons |
| WaterSense certified low-flow | 2.0 GPM | ~14,500 gallons |
| Ultra-low flow | 1.5 GPM | ~10,950 gallons |
Based on an average 8-minute shower.
Choosing the Right Low-Flow Model for a Rental
Renters benefit most from models that are easy to install, easy to remove, and unlikely to damage anything. Some practical guidance:
Avoid fixed-arm designs that require wall anchors. Standard thread-on models are the correct format for rentals.
Handheld combos are renter-friendly. A dual-function head with a slide bar that attaches to the existing shower arm (via a diverter, no drilling) adds flexibility without permanent changes. These are particularly useful for saving water in the bathroom without remodeling.
Check for a pressure-compensating flow restrictor. Buildings with variable pressure — common in older apartments — can cause standard low-flow heads to sputter. A pressure-compensating model maintains consistent output when water pressure fluctuates throughout the day.
Filter-integrated models: Some low-flow heads include a basic sediment or chlorine filter. These are worth considering if tap water in your area has taste or odor issues. For more targeted filtration, the broader drinking water filtration category covers solutions that go beyond the shower.
Before Moving Out: Restoring the Original
Reinstalling the original shower head is the reverse of the installation process:
- Remove the low-flow head (counterclockwise).
- Clean the arm threads and remove your plumber’s tape.
- Apply fresh plumber’s tape to the arm threads.
- Thread on the original head and tighten.
- Test for leaks.
The entire restoration takes under 10 minutes. Completing this before your move-out inspection eliminates any grounds for deposit deductions related to fixtures.
Real-World Performance Notes
In documented water conservation studies, households that replaced 2.5 GPM shower heads with 2.0 GPM WaterSense-certified fixtures reduced shower water use by an average of 20%, with no reported reduction in satisfaction scores for spray pressure. The savings are more significant in larger households: a four-person household replacing one standard fixture with a 2.0 GPM model can reduce hot water heating costs by $30–$50 annually, depending on local energy rates.
Initial installations on hard water systems occasionally reveal buildup at the arm threads, which can affect seal quality on the first attempt. Cleaning threads thoroughly before applying tape reduced re-do rates significantly in field tests — a small step that’s worth building into the process from the start.
FAQ
Is it legal to replace a shower head in a rental apartment?
In most cases, yes. Replacing a shower head is a reversible, non-destructive change that is not classified as an alteration under most standard lease agreements. That said, lease language varies. Checking your specific agreement and sending a quick written request to your landlord is the safest approach — most landlords approve it immediately since it’s a reversible swap.
Will a low-flow shower head reduce water pressure in my shower?
A quality low-flow head rated 2.0 GPM with pressure compensation should not feel noticeably weaker than a 2.5 GPM model. The perception of pressure depends on nozzle design, not volume alone. Aerating models maintain strong spray sensation by mixing air into the water stream. If existing building pressure is already below 40 PSI, look for a fixture specifically labeled as “pressure-compensating” to avoid a weak shower experience.
Can I install a low-flow shower head without a wrench?
Many low-flow shower heads can be hand-tightened sufficiently for leak-free use, especially on well-maintained threads with fresh plumber’s tape. A wrench is recommended for the final quarter-turn to ensure a proper seal and prevent dripping. Using a cloth between the wrench and the fixture prevents cosmetic scratching.
How much water does a low-flow shower head actually save?
Switching from a 2.5 GPM fixture to a 2.0 GPM WaterSense-certified model saves approximately 0.5 gallons per minute. Over an 8-minute shower, that’s 4 gallons saved per shower. For a single person showering daily, that totals roughly 1,460 gallons per year. For a household of four, savings exceed 5,800 gallons annually from one fixture change.
What should I do with the original shower head after I swap it out?
Store it in a labeled bag in a safe location — ideally the same space where you keep other apartment-related items like extra keys or lease documents. You’ll need it to restore the shower before your move-out inspection. Losing the original head means buying a comparable replacement, which is avoidable with a bit of organization from the start.