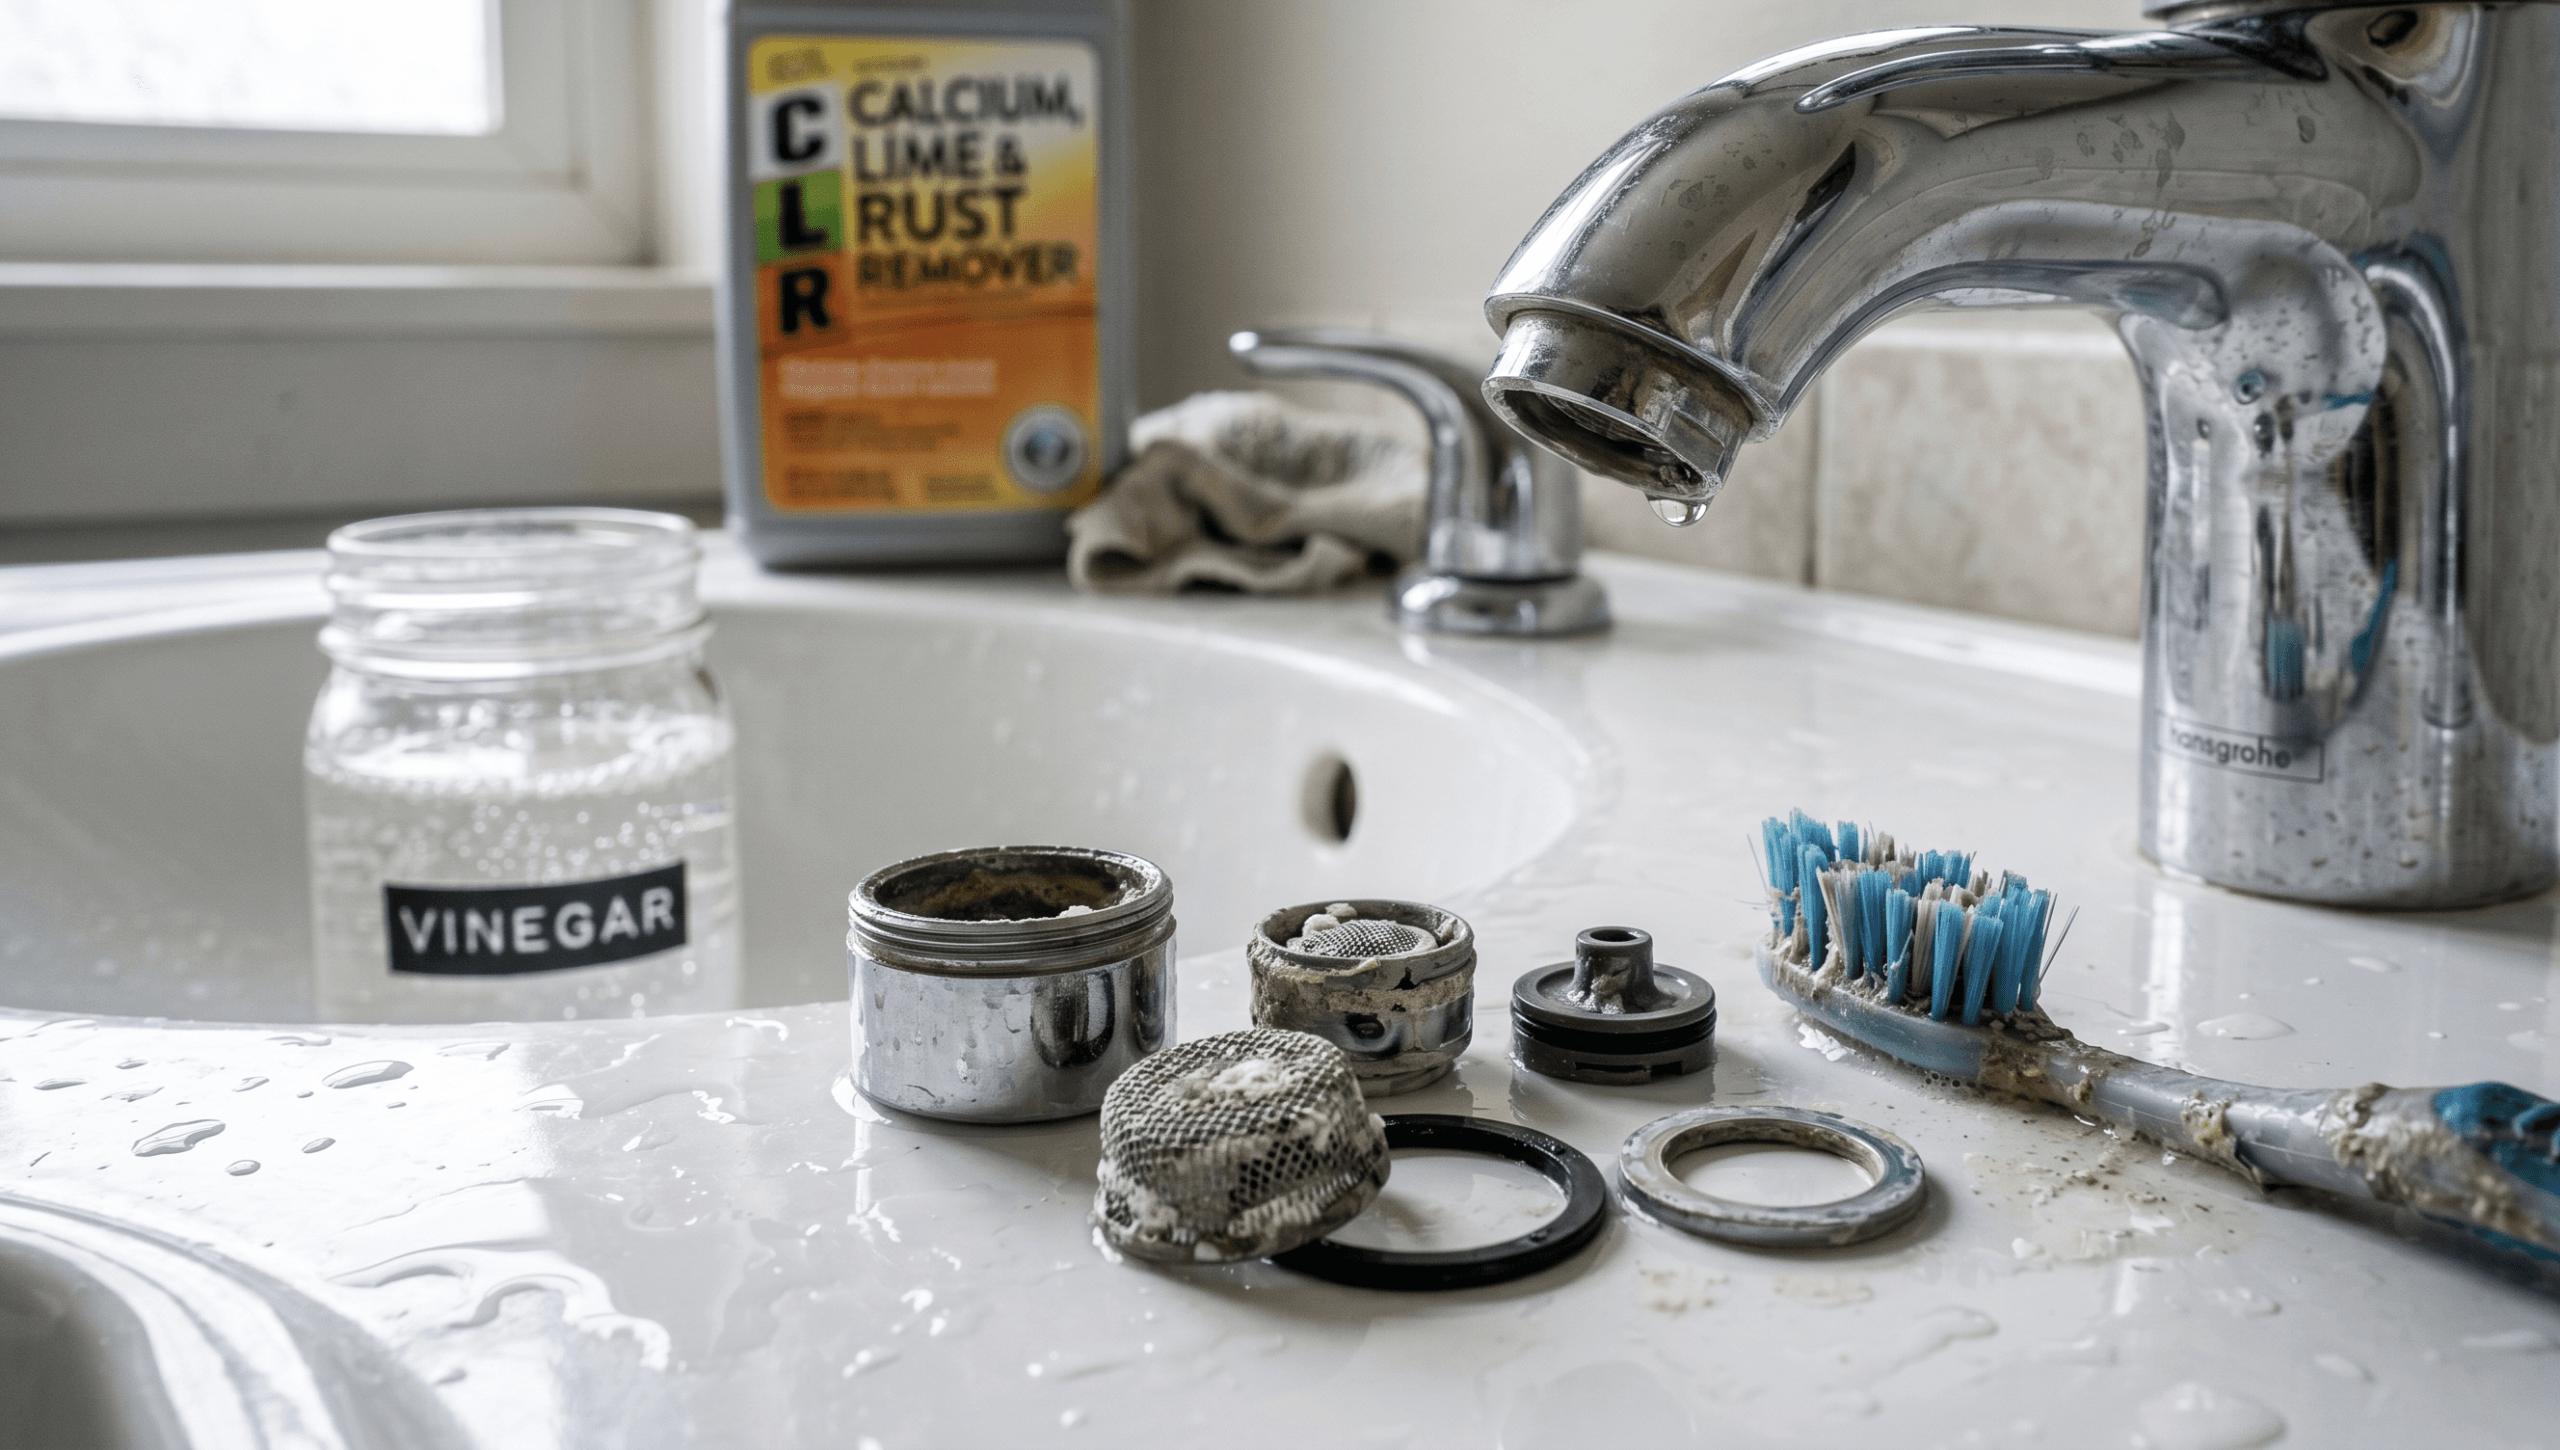
Low water pressure from a single faucet almost always has one cause: a clogged aerator. Before calling a plumber or assuming a pipe problem, removing and cleaning this small screen takes less than 10 minutes and fixes the issue in most cases.
This guide explains what an aerator does, what clogs it, and exactly how to clean or replace it to restore normal water flow.
What Is a Faucet Aerator and Why Does It Clog?
A faucet aerator is a small mesh screen screwed onto the tip of the faucet spout. It mixes air into the water stream to create a smooth, splash-free flow while reducing overall water use. Most aerators have one or two fine mesh screens held in a small housing.
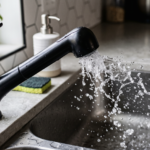
Over time, mineral deposits from hard water — primarily calcium and magnesium — build up on the mesh and restrict flow. Sediment from pipes, rust particles, and debris from water supply work can also accumulate and block the screen. The result is a weak, uneven, or spluttering stream from an otherwise normal-functioning faucet.
Because the aerator is at the very end of the water path, it collects everything the water carries. Homes with hard water or older galvanized pipes tend to see aerator buildup much faster — sometimes within a few months.
Tools and Supplies You Need
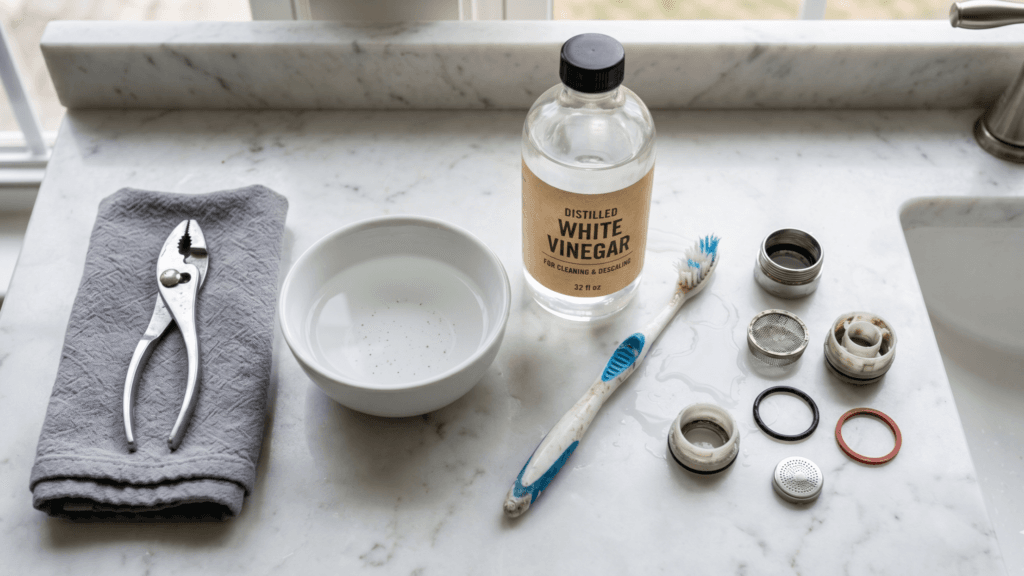
No specialized equipment is required. Gather these before starting:
- Adjustable pliers or channel-lock pliers
- A cloth or rubber grip pad (to protect the aerator finish)
- White vinegar (distilled)
- A small bowl or cup
- An old toothbrush or small stiff brush
- A toothpick or pin (for stubborn debris)
- Plumber’s tape (optional, for reinstallation)
How to Remove a Faucet Aerator
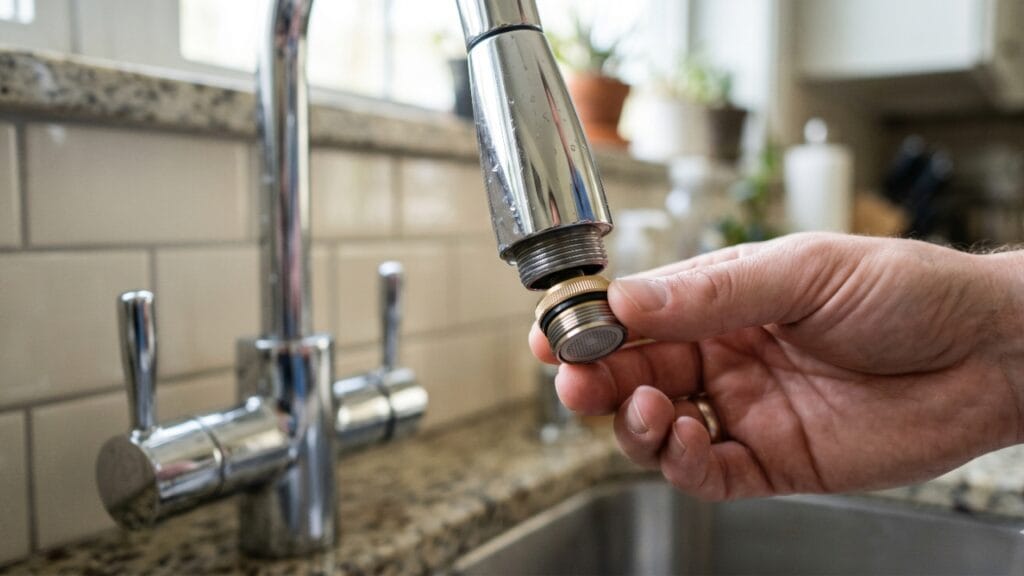
Aerators are either external (visible threads on the outside of the spout) or internal (recessed inside the spout end). The removal method differs slightly between the two.
External aerator (most common)
- Close the drain stopper or place a cloth over the drain to catch small parts.
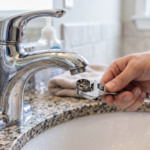
- Wrap the aerator with a cloth to avoid scratching the finish.
- Grip the aerator with pliers and turn counterclockwise to unscrew it.
- Once loose, finish unscrewing by hand and remove the entire housing.
Internal (cache) aerator
Internal aerators require a special aerator key that matches the brand and size — commonly used on Delta, Moen, and Kohler faucets. The key is usually included with the faucet or available at hardware stores. Insert the key into the recessed opening, turn counterclockwise, and pull out the aerator cartridge.
How to Disassemble the Aerator
Once removed, the aerator housing typically separates into several small parts:
- Outer housing (metal or plastic ring)
- Mesh screen(s) — usually one or two layers
- Flow restrictor (a small plastic disc with a hole — present in water-saving models)
- Washer or O-ring
Note the order of these parts before disassembling. Taking a photo with your phone is a reliable way to remember the correct assembly sequence. A common reassembly mistake is reversing the mesh screens, which reduces flow even after cleaning.
How to Clean the Aerator Screen
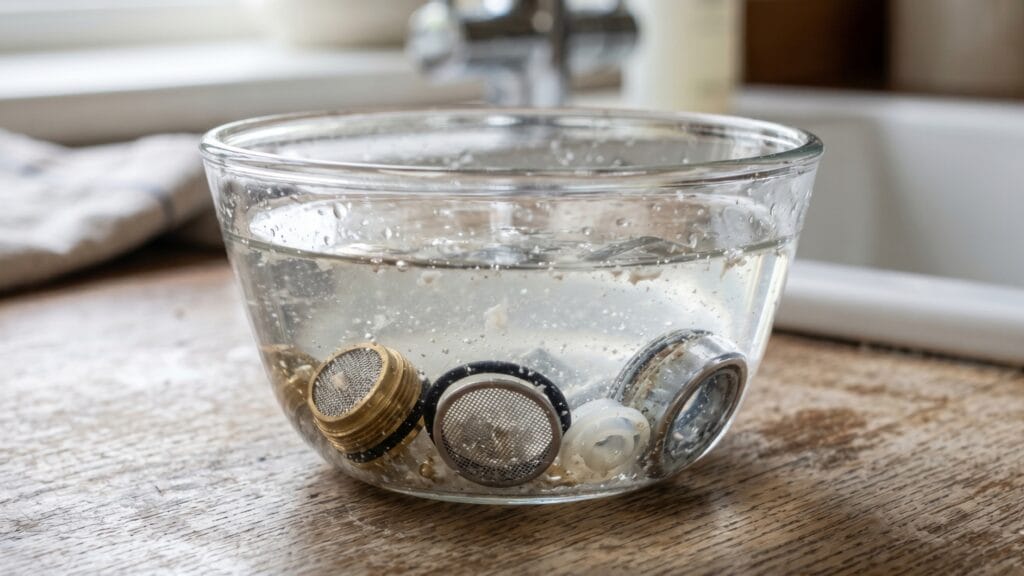
Soaking in vinegar removes mineral deposits more effectively than scrubbing alone. White vinegar dissolves calcium and lime scale without damaging metal or plastic components.
- Place all parts (except rubber washers if they’re already degraded) into a small bowl.
- Pour enough white vinegar to fully submerge the parts.
- Soak for 30 minutes for light buildup, or up to 2–3 hours for heavy scale.
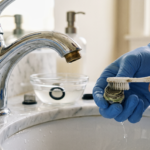
- After soaking, use an old toothbrush to scrub the mesh screens under running water.
- Use a toothpick or pin to clear any remaining debris from individual mesh holes.
- Rinse all parts thoroughly with clean water.
If the mesh is visibly torn, corroded, or permanently deformed after cleaning, replace the aerator rather than reinstalling a damaged screen. A replacement aerator matching your faucet’s thread size costs between $2–$8 at hardware stores.
For households dealing with persistent mineral buildup, understanding the relationship between water pressure and plumbing can help identify whether scale is affecting multiple fixtures, not just the aerator.
How to Reassemble and Reinstall the Aerator
- Reassemble all parts in the correct order (refer to your photo if needed). The mesh screens should be seated flat, not tilted or overlapping incorrectly.
- Hand-tighten the aerator back onto the faucet spout. Turn clockwise. Do not overtighten — snug by hand is sufficient for most aerators.
- If the aerator is leaking after reinstallation, wrap the threads with one layer of plumber’s tape before screwing it back on.
- Turn the faucet on and check for leaks at the connection point.
Avoid using pliers for final tightening unless the aerator is visibly loose — overtightening can crack plastic housings or distort the rubber washer, causing leaks.
Testing Water Flow After Cleaning
Turn the faucet on fully after reinstallation. Water flow should be strong and even, with a smooth, slightly aerated stream. If flow is still restricted:
- Check water pressure at other faucets — if all are weak, the issue is upstream (main shutoff, pressure regulator, or supply line), not the aerator.
- Inspect the supply valve under the sink — it should be fully open (handle parallel to the pipe).
- Check the flow restrictor — if the aerator has a flow restrictor disc and flow is still low after cleaning, temporarily remove the restrictor to test if it’s the bottleneck. Flow restrictors in older aerators sometimes become clogged beyond cleaning.
If only hot water pressure is low at one faucet, the water heater shutoff valve or a failing hot-side cartridge may be the cause rather than the aerator.
Homes on private wells should also verify that well water pressure is adequate at the pressure tank before assuming a fixture problem.
How Often to Clean Faucet Aerators
In homes with hard water or heavy sediment, aerator cleaning every 3–6 months prevents significant buildup. In areas with soft or treated municipal water, annual cleaning is typically sufficient.
Kitchen faucet aerators tend to clog faster than bathroom faucets due to higher use and food particle exposure. If a faucet’s flow drops noticeably between cleanings, that’s a reliable signal to inspect the aerator. Proactive cleaning takes less time than troubleshooting fully blocked screens.
Reducing mineral buildup at the source — through a whole-home softener or a point-of-use filter — can extend the time between cleanings significantly. Filtered water also reduces particles that clog mesh screens prematurely. For households focused on reducing mineral and contaminant load at the tap, drinking water filtration options address water quality beyond what aerator maintenance alone can solve.
When to Replace Instead of Clean
Cleaning restores most aerators, but replacement makes more sense in these situations:
- The mesh screen is torn, corroded, or has permanent deformation
- The housing threads are damaged and the aerator won’t seal properly
- The rubber washer is cracked or brittle (causes leaks even after cleaning)
- Flow remains weak after cleaning because the internal parts have degraded
Aerators are not designed as permanent components. Most manufacturers expect them to be cleaned periodically and replaced every few years as part of normal faucet maintenance.
FAQ
Can a dirty aerator cause low water pressure throughout the whole house?
No. A clogged aerator only reduces water flow at the specific faucet where it’s installed. If water pressure is low at multiple faucets or throughout the house, the issue is upstream — typically the main shutoff valve, pressure regulator, or municipal supply. An aerator affects only the fixture it’s attached to.
What if the aerator is stuck and won’t unscrew?
Apply penetrating oil (such as WD-40) around the threads and let it sit for 10–15 minutes before trying again. Wrap the aerator firmly with a rubber grip pad before using pliers to improve grip without slipping. Avoid excessive force on plastic-housed aerators — they can crack. If the aerator is severely corroded onto the spout, replacement of the faucet tip may be necessary.
Can I use something other than white vinegar to clean an aerator?
White vinegar is the most practical option for home use because it dissolves calcium and lime scale without damaging metal or rubber parts. Citric acid solutions work similarly. Avoid bleach, strong chemical drain cleaners, or abrasive cleaners — these can corrode metal mesh, degrade rubber washers, and damage finish coatings.
How do I know what size replacement aerator to buy?
Aerator thread size is measured in diameter and thread pitch. Common sizes are 15/16 inch male, 55/64 inch female, and 13/16 inch male, among others. Measure the outer diameter of the faucet spout threads with a ruler, or bring the old aerator to a hardware store for matching. Many major faucet brands (Moen, Delta, Kohler) also offer brand-specific replacement aerators if you know your faucet model.
Does cleaning the aerator affect water quality?
Cleaning removes sediment and mineral buildup from the screen itself, which can improve flow and slightly reduce particulate matter in the delivered water. However, aerators do not filter or purify water — they only shape the flow pattern. For water quality concerns such as taste, odor, or chemical content, a dedicated water filtration system is needed.