Setting up a rain barrel system takes a single afternoon and costs between $80 and $150 in materials. A properly installed 55-gallon barrel can collect 1,300 gallons of water over a typical spring season — enough to cover most of a household’s outdoor watering needs without touching the tap.
This article walks through each step of the installation process, from choosing the right barrel to connecting it to your downspout and using the water safely. No plumbing experience is required.
What You Need Before You Start
Gather these materials before you begin. Most are available at hardware stores for under $20 each:
- A food-grade 55-gallon barrel (never use a barrel that stored chemicals or non-food substances)
- A downspout diverter kit sized for your downspout (most residential downspouts are 2×3 inches or 3×4 inches)
- A spigot or brass hose bib with washer
- A drill with 1-inch and 3/4-inch bits
- Teflon thread tape
- Window screen mesh (18×16 mesh or finer) to cover the barrel opening
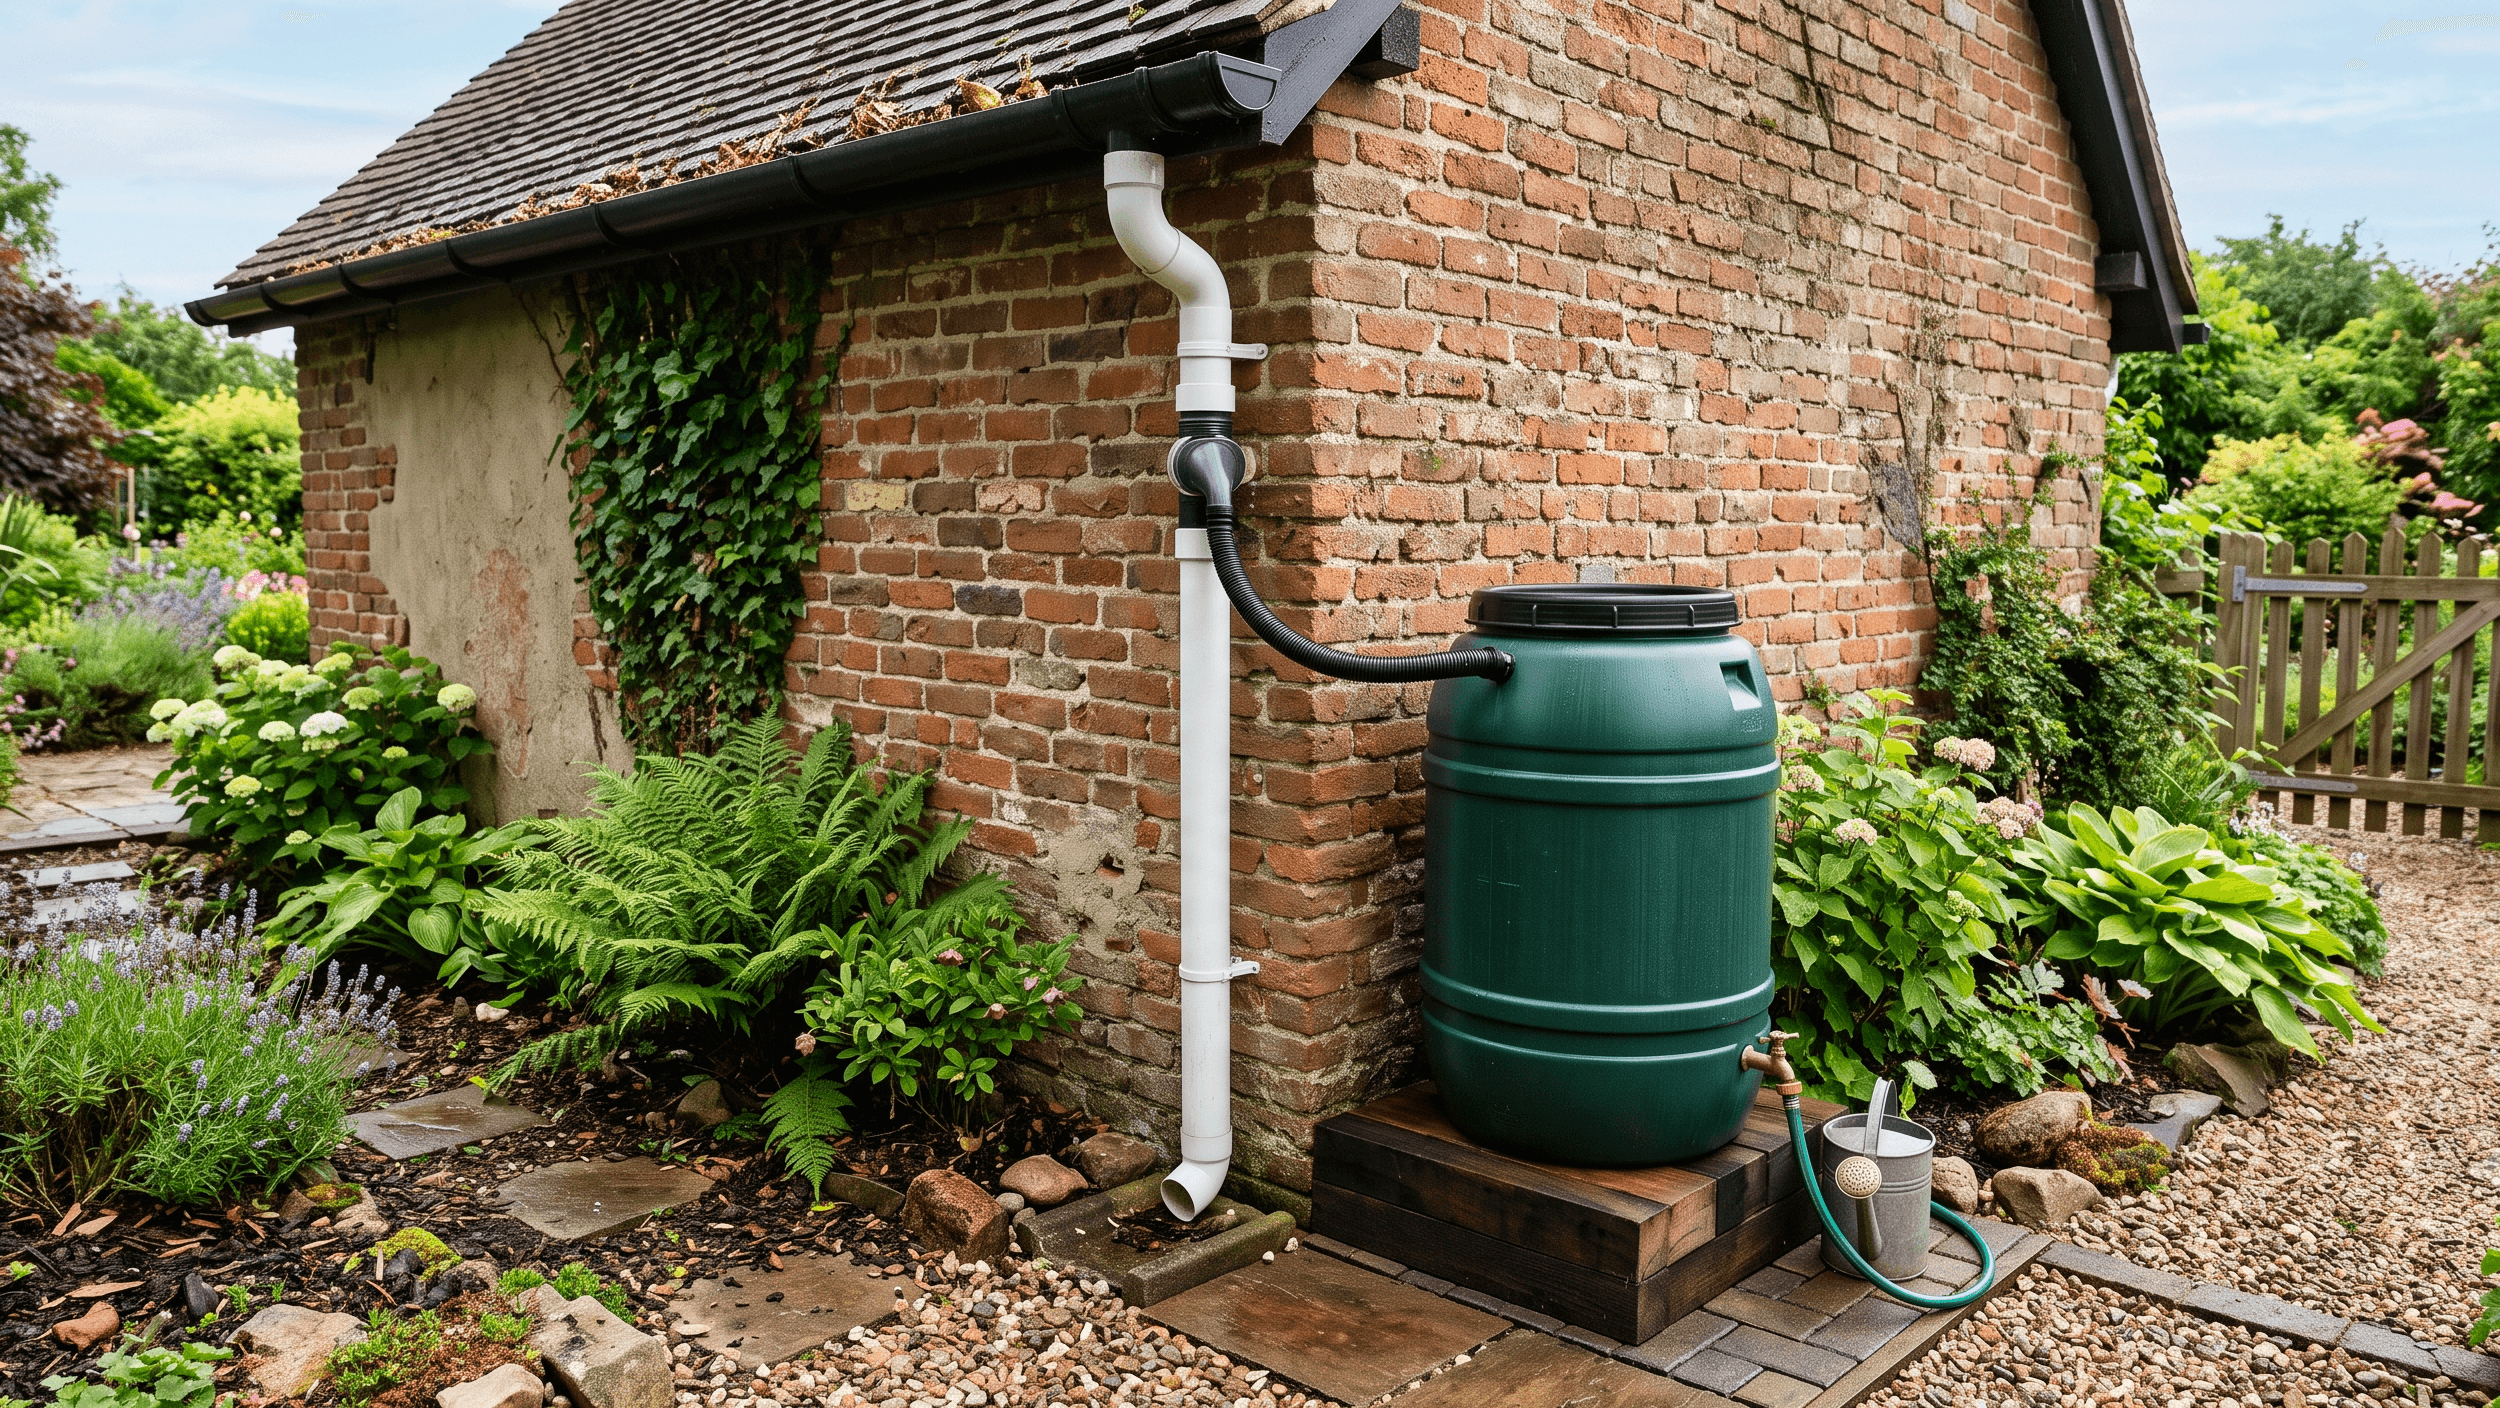
- Cinder blocks or a wooden platform (raises the barrel 12–16 inches for gravity-fed pressure)
- Overflow tubing (3/4-inch diameter minimum)
A location near a downspout that faces a garden bed or lawn makes installation simpler. Flat, firm ground is necessary — a full 55-gallon barrel weighs approximately 460 pounds.
Step 1: Choose and Prepare the Right Barrel
Use only food-grade plastic or certified rain barrel containers. Barrels that previously held syrups, juices, or pickles are commonly repurposed and widely available from food distributors for $15–$30. Avoid any barrel stamped with HDPE code 7 or that previously held industrial chemicals, pesticides, or motor oil — residue from those materials can contaminate collected water and damage plants.
Rinse the interior with a solution of one tablespoon of unscented bleach per gallon of water. Let it sit for 15 minutes, then rinse thoroughly with clean water. This removes organic residue and prevents algae growth during the first season.
Drill a 3/4-inch hole 2–3 inches from the base of the barrel for the spigot. Wrap the spigot threads with Teflon tape (3–4 wraps) before inserting it, and tighten with a wrench until snug. Hand-tight is not sufficient — a loose spigot will drip under the weight of a full barrel.
Drill a second 1-inch hole near the top of the barrel (within 4 inches of the rim) for the overflow outlet. Insert a short length of 3/4-inch tubing and direct it away from your foundation. Overflow water directed toward a foundation causes soil erosion and can lead to basement water intrusion over time.
Step 2: Build a Stable Elevated Platform
Elevating the barrel 12–16 inches above the ground increases the water pressure at the spigot from near zero to approximately 0.5–1 PSI. That is enough pressure for a slow trickle through a soaker hose or to fill a watering can without holding it awkwardly at ground level.
Stack two courses of standard cinder blocks (each 8 inches tall) in a 2×2 arrangement. This creates a 16-inch platform with a surface area sufficient to support a full barrel. Check the platform with a level before placing the barrel — even a slight tilt concentrates the barrel’s weight unevenly and increases the risk of tipping.
For a more permanent installation, pour a 4-inch concrete pad sized to the barrel footprint. Concrete pads prevent the platform from shifting in freeze-thaw cycles, which is relevant in USDA hardiness zones 5 and colder where winter ground movement is common.
Step 3: Install the Downspout Diverter
The downspout diverter is the connection point between your roof’s gutter system and the rain barrel. It intercepts water during rainfall and redirects it into the barrel. When the barrel is full, the diverter automatically passes overflow back down the original downspout.
Turn off the water supply to any hose bibs connected to the downspout section you are working on, if applicable. Using tin snips or a hacksaw, cut out a 4-inch section from the downspout at the height where the inlet hose will reach your barrel’s opening. Most diverter kits specify the exact cut height based on the barrel’s location.
Attach the diverter bracket to the cut section following the kit manufacturer’s instructions — most use sheet-metal screws and require a Phillips head screwdriver. Connect the flexible inlet hose from the diverter to the barrel’s lid opening. The hose should slope downward at least 1 inch per foot to prevent standing water inside the tube, which breeds mosquitoes.
If your downspout has an elbow near the base, install the diverter above the elbow rather than below it. Installing below the elbow restricts flow and reduces how quickly the barrel fills during heavy rain.
Step 4: Cover the Barrel Opening to Block Debris and Mosquitoes
An uncovered barrel becomes a mosquito breeding site within 7–10 days during warm weather. Mosquitoes lay eggs in standing water as shallow as half an inch — the surface of an open barrel provides ideal conditions.
Cut a piece of window screen mesh slightly larger than the barrel opening. Secure it tightly under the lid or rim using a bungee cord or zip ties around the barrel’s circumference. The mesh must be taut — a loose screen sags into the water and loses its barrier function.
For barrels with a solid lid and a single inlet hole, insert a PVC mesh insert (available in most diverter kits) into the inlet opening. This filters out shingle granules, leaf fragments, and organic debris before they enter the barrel. Shingle granules, in particular, contain zinc and other compounds that accumulate in the water and can affect soil chemistry if applied heavily to vegetable beds.
Step 5: Connect, Test, and Use the System
Place the barrel on the platform, ensure the spigot is closed, and wait for the next rainfall. After the first significant rain (at least 0.25 inches), check four things:
- The diverter is directing water into the barrel — look for flow at the inlet hose
- No leaks around the spigot — tighten if needed or add another layer of Teflon tape
- The overflow hose is directing water away from the foundation — reposition if it is pooling near the house
- The screen is intact and no debris has entered — remove and clean the screen after each significant storm
Open the spigot to test flow rate. A 55-gallon barrel elevated 16 inches will typically empty through a standard hose bib in 60–90 minutes when fully open. For drip irrigation or soaker hose systems, this flow rate is adequate without additional pressure. For spray nozzles or any system requiring more than 1 PSI, a small submersible pump is necessary.
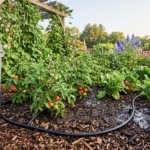
Rainwater collected from asphalt shingles is suitable for lawns, shrubs, and non-edible ornamental plants. For vegetable gardens, research from the EPA and state extension services recommends treating collected rainwater with a 1/4 teaspoon of unscented household bleach per gallon before applying it to edible crops, or routing it only to the soil rather than directly onto edible portions of plants.
How Much Water Can a Rain Barrel Realistically Collect?
A standard residential rooftop collects roughly 0.5 gallons per square foot per inch of rainfall. A 1,500 square foot roof during a 1-inch rain event generates approximately 750 gallons of runoff — far more than a single 55-gallon barrel can hold.
A two-barrel system linked in series (connected by overflow tubing from the first barrel into the second) doubles storage to 110 gallons at minimal additional cost. Three linked barrels — a common setup among homeowners in high-rainfall regions — can store 165 gallons per storm cycle. Linking barrels requires running a 3/4-inch tube from the overflow outlet of the first barrel to an inlet hole drilled at the same height on the second barrel.
For households in regions with seasonal drought, a rain barrel system works best as part of a broader water-saving approach. Pairing barrel collection with low-flow fixtures and bathroom conservation habits reduces total household water demand, making harvested water go further.
Maintaining the System Through the Season
Flush the barrel completely at the start and end of each season. Sediment, algae, and organic material accumulate at the bottom and can clog the spigot over a full season of use. To flush: open the spigot fully, disconnect the inlet hose, and allow all water to drain. Then rinse the interior with a garden hose and let it dry before reconnecting.
In climates where temperatures drop below 32°F (0°C), drain and disconnect the rain barrel before the first freeze. Water left in the barrel expands as it freezes, which can crack the barrel body and the spigot fitting. Store the barrel indoors or in a protected area with the spigot removed.
Inspect the screen mesh monthly during active use. Fine mesh blocks more debris but clogs faster — rinse it with clean water after each storm rather than waiting for visible blockage.
If water pressure at the spigot drops noticeably over time even when the barrel is full, check the spigot screen insert for sediment buildup. Remove the spigot and clear any debris from the inlet side before reinstalling.
Rain Barrel vs. Other Rainwater Collection Options
| System | Storage Capacity | Cost Range | Installation Difficulty | Best For |
|---|---|---|---|---|
| Single rain barrel | 50–65 gallons | $80–$150 | Low (1–2 hours) | Small gardens, first-time setup |
| Linked barrel system (2–3) | 100–200 gallons | $150–$350 | Low–medium | Mid-size yards |
| Above-ground cistern | 200–1,500 gallons | $400–$2,000 | Medium | Large properties, high-rainfall areas |
| Underground cistern | 1,000–10,000 gallons | $3,000–$15,000+ | High (professional install) | Off-grid systems, agricultural use |
Homeowners on well water or off-grid systems may find cisterns or linked barrel systems more practical than a single barrel, since those setups manage greater seasonal variability in supply and demand.
Legal Considerations Before You Install
Rainwater harvesting regulations vary by state. As of 2024, most U.S. states permit residential rain barrel use with no restrictions. However, several western states — including Colorado, which fully legalized residential collection in 2016 — previously restricted or limited collection due to water rights law. Colorado now permits up to two 110-gallon barrels per household for outdoor use.
Check your state’s current regulations with your local water authority or state environmental agency before installing a system larger than a standard two-barrel setup. For single 55-gallon barrels used for garden watering, no permit or registration is required in any state as of this writing.
FAQ
How long does it take to fill a 55-gallon rain barrel?
A 55-gallon barrel fills in roughly 10–15 minutes during a 1-inch rain event on a 1,000 square foot roof section. On a smaller 600 square foot section, the same storm takes 20–30 minutes to fill the barrel. Overflow begins automatically once capacity is reached, provided the overflow outlet is installed and unobstructed.
Can I drink water collected in a rain barrel?
No. Rainwater collected from asphalt or composite shingles is not safe for drinking without treatment. It contains zinc from shingle granules, bird and rodent waste from the roof surface, and trace atmospheric pollutants. Filtered and treated versions can be made potable with a multi-stage system including sediment filtration, activated carbon, and UV sterilization, but this is a different system from a standard rain barrel. If your concern is tap water quality, understanding what’s in your tap water and using an appropriate filter is a more straightforward approach.
Do rain barrels attract mosquitoes?
A properly screened and sealed rain barrel does not attract or breed mosquitoes. The problem occurs only when barrel openings are left uncovered or when screen mesh tears and is not replaced. Additionally, any standing water in the inlet hose between rainfalls should be addressed — mosquitoes can breed in the hose itself if water pools inside it. A simple fix is to install a small check valve on the inlet hose to prevent backflow.
Should I use rain barrel water on vegetable gardens?
Rainwater is safe for soil application around vegetable plants when collected from clean composite or metal roofs. For asphalt shingle roofs, apply it only to the soil around plants rather than directly onto edible leaves or produce, and avoid applying it to root vegetables where the edible portion contacts the soil directly. For crops where direct contact is unavoidable, treat collected water with a small amount of unscented bleach (1/4 teaspoon per gallon) and let it sit for 30 minutes before use.
What happens if the barrel fills faster than I can use the water?
Overflow water exits through the overflow outlet and returns to the downspout or is directed to a secondary barrel if one is linked in series. If overflow directs to a bare downspout without a secondary barrel, ensure it discharges at least 6 feet from the house foundation. In regions with heavy spring rainfall, a linked two- or three-barrel system prevents repeated overflow loss and stores more of each storm event.