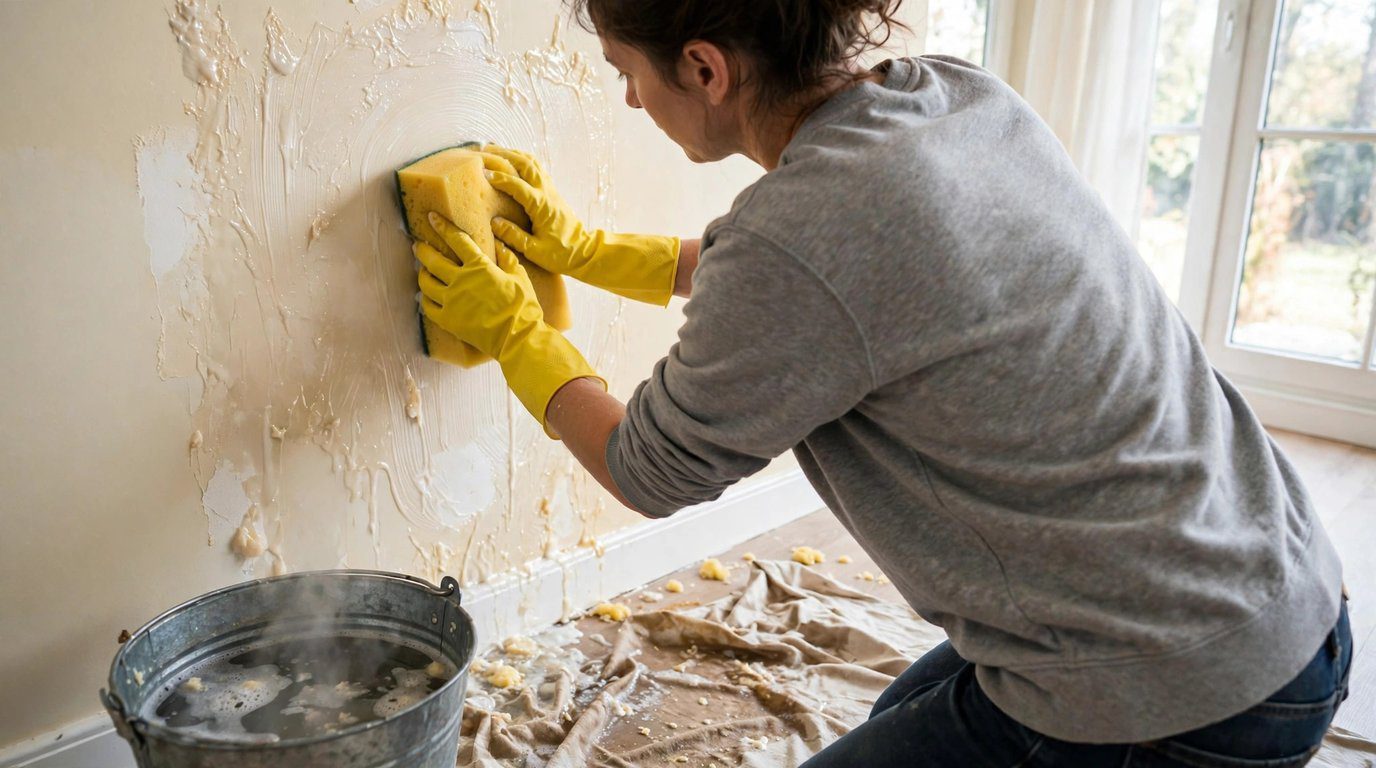
How to remove wallpaper glue: rewet, soak, scrape, rinse. Learn how to remove wallpaper glue with the hot-water method below.
The short answer: To remove wallpaper glue, rewet the paste with hot water and a little dish soap, let it soak for a few minutes, then scrape it off gently with a plastic putty knife and wash the wall with clean water. Work in small sections, change your rinse water often, and let the wall dry fully before painting. Stubborn spots surrender to a second soak, a vinegar solution, or steam.
You stripped the wallpaper and felt triumphant — until your hand brushed the wall and found it sticky, tacky, faintly shiny. That residue is wallpaper paste, and it’s the part of the job nobody warns you about. Here’s the thing most people learn too late: that glue has to come off before you paint or hang new paper. Fresh paint rewets old paste, and within weeks you’ll be staring at bubbles, cracks, and peeling edges wondering what went wrong.
The good news? Removing wallpaper glue is tedious, not difficult. It needs hot water, patience, and the right sequence — not expensive chemicals or professional help. This guide walks you through the full process: what you’ll need, how to prep the room, the step-by-step hot-water method, DIY remover recipes, what to do about stubborn spots, how to tell when you’re truly done, and the mistakes that damage walls. For more hands-on home guides in plain English, check out our sister sites dailyorvix.com and adailyinsight360.com.
IN THIS GUIDE
- Why Leftover Wallpaper Glue Ruins Paint Jobs
- What You’ll Need
- Prep the Room Before You Start
- The Hot-Water Method, Step by Step
- DIY Wallpaper Glue Remover Recipes
- How to Handle Stubborn, Dried-On Glue
- How to Tell When All the Glue Is Gone
- What to Do After the Glue Is Gone
- Mistakes That Damage Walls
- Can You Paint Over Wallpaper Glue?
- Frequently Asked Questions
- Conclusion
Why Leftover Wallpaper Glue Ruins Paint Jobs
Wallpaper paste is designed to do one thing extremely well: bond paper to a wall and stay bonded for years. Most pastes are starch- or cellulose-based, which means they’re water-soluble — water reactivates them. That’s your weapon for removal, but it’s also the reason leftover residue is so destructive under paint.
When you roll latex paint over a wall that still has paste on it, the water in the paint rewets that paste. The paste softens, swells, and shifts underneath your fresh coat. The visible results show up days or weeks later: fine cracks like a dried riverbed, small bubbles, edges that lift when you run a fingernail under them. Painters see this constantly, and it’s one of the most common reasons a paint job fails prematurely on a previously wallpapered wall.
New wallpaper over old glue isn’t much better. The fresh paste can reactivate the old layer unevenly, leaving lumps and weak spots where the new paper never fully bonds. Either way, the hour or two you spend washing the walls properly pays for itself many times over in a finish that actually lasts.
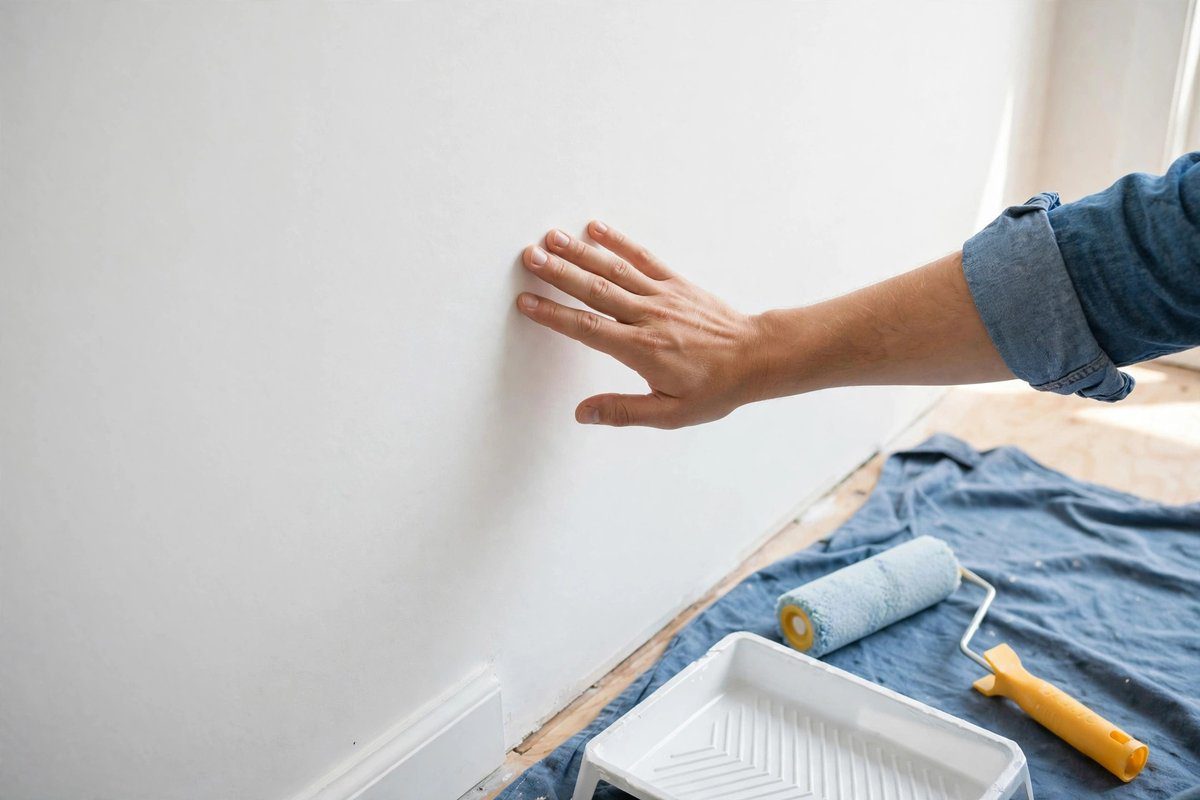
Practical tip: If you’re unsure whether a wall ever had wallpaper, do the hand test before painting: run your palm over the dry wall. Tacky, slick, or faintly shiny patches are almost certainly old paste. Wash first, paint second — always.
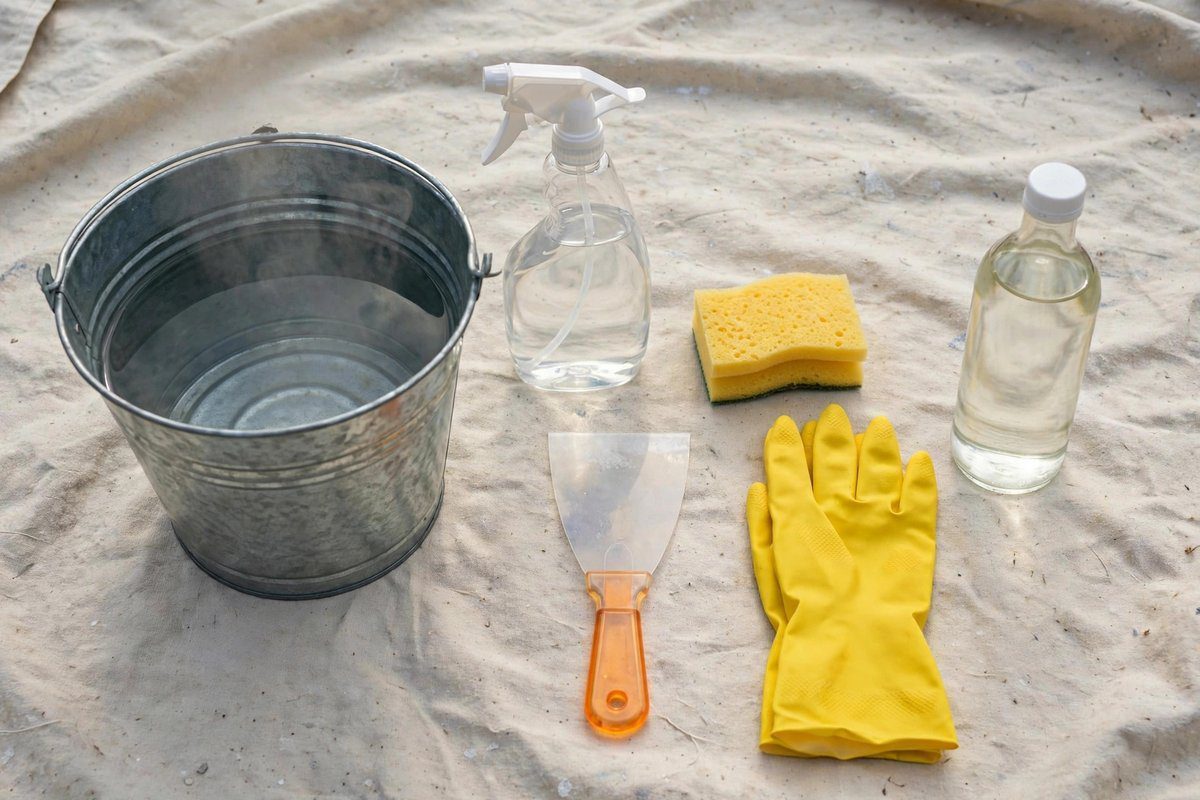
What You’ll Need
Everything on this list is cheap and most of it is already in your house. Gather it before you start, because stopping mid-wall to hunt for supplies is how sections dry out and have to be re-soaked.
- A bucket — for your cleaning solution
- Hot water — the hotter the better; heat is what softens the paste
- Liquid dish soap — a squirt per bucket, to help the water penetrate
- White vinegar — for stubborn areas (about a cup per gallon)
- Baking soda — a tablespoon per bucket boosts the soap solution
- A large sponge — plus a scrubbing pad for texture
- A spray bottle — for rewetting sections as you work
- A plastic putty knife or wallpaper scraper — plastic is gentler than metal on drywall
- Rubber gloves — hot water plus long sessions equals pruney, irritated hands
- Drop cloths or old towels — the floor will get wet
- Painter’s tape — for covering outlets and trim
- Clean rags and a second bucket — for rinse water (you’ll change it often)
Optional but genuinely useful: a wallpaper steamer for truly stubborn glue, and a commercial wallpaper paste remover (enzyme-based strippers are widely available) as a last resort. You probably won’t need either for a normal job.
Prep the Room Before You Start
You’re about to throw a lot of water at your walls, so treat the room like it. Move furniture away from the walls or cover it with tarps. Lay drop cloths or old towels along the baseboards to catch drips and the gluey sludge you’ll be wiping off — paste residue on carpet is miserable to clean.
Now the safety step people skip: electricity and water don’t mix. Switch off the power to the room at the breaker if you’ll be working heavily around outlets and switches, and cover every outlet, switch plate, and fixture with painter’s tape. Even with the power on, taped outlets keep water out of the boxes. Remove outlet covers if you want to clean behind them, but only with the breaker off.
Finally, fill your bucket with hot water — as hot as your tap makes it — and mix in your cleaning solution. Keep a kettle or access to hot refills nearby, because the solution cools as you work and warm solution works noticeably better than lukewarm. Put on your gloves. You’re ready.
Practical tip: Start on the least visible wall. Your technique will be clumsy for the first twenty minutes and smooth by the end — let the learning curve happen where nobody looks closely.
The Hot-Water Method, Step by Step
This is the core technique, and it handles the large majority of wallpaper glue. The principle never changes: rewet the paste, let the water do the work, then remove what’s softened. Force is never the answer; soaking time is.
Step 1: Wet a small section
Work in areas of about 5 by 5 feet — small enough that the section stays wet while you work it. Dip your sponge in the hot soapy solution, wring it so it’s wet but not dripping, and wipe it generously over the glue. You want the wall thoroughly damp, not running with water. For the first pass, you’re moistening, not scrubbing.
Step 2: Let it soak
Give the solution two to three minutes to penetrate and soften the paste. This waiting is the actual work — the water is breaking the paste’s bond with the wall. If the section starts drying before you’re ready, mist it again with the spray bottle. Dried paste just laughs at scrapers.
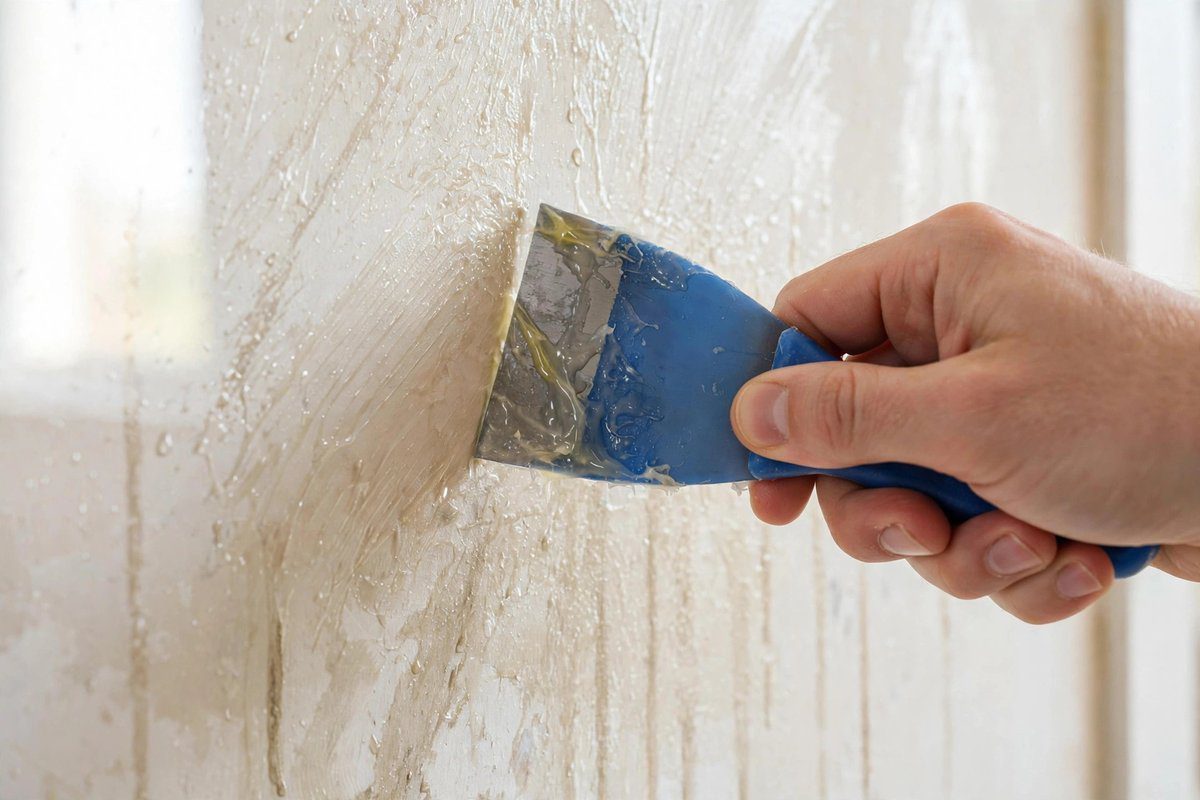
Step 3: Scrape gently
Hold your plastic putty knife at a low angle and push the softened glue off the wall with firm but gentle pressure. You should see the paste roll up or slide away in soft sheets and clumps. If you feel real resistance, stop — rewet the spot and wait longer. Scraping hard against dry glue is how you gouge drywall and tear the paper facing, which creates a much bigger repair job than the glue ever was.
Step 4: Sponge away the remainder
With the bulk of the glue scraped off, go back over the section with a clean sponge dipped in fresh hot soapy water, using the scrubby side on any remaining film. Work in overlapping strokes and rinse the sponge frequently — a loaded sponge just smears paste around.
Step 5: Rinse with clean water
This step separates decent results from great ones. Wipe the section down with a sponge or rag dampened in clean water only — no soap. Soap residue left on the wall can interfere with paint adhesion almost as badly as paste. Change your rinse water the moment it looks cloudy; wiping with dirty water just spreads a thin film of paste back over the clean wall.
Step 6: Move on and repeat
Move to the next 5-by-5 section and repeat. It’s repetitive, and there’s no shortcut worth taking — but a steady rhythm gets a normal room done in an afternoon. Put on music or a podcast; this is honest, meditative work.
DIY Wallpaper Glue Remover Recipes
Plain hot water and dish soap handles light to moderate residue. When it doesn’t, these DIY mixes step things up — all made from household ingredients, all cheap.
| Recipe | Best For | Notes |
|---|---|---|
| Hot water + squirt of dish soap | Light, fresh residue | The baseline — start here, and it often finishes the job alone |
| 1 gallon hot water + 1 tbsp dish soap + 1 tbsp baking soda | Moderate, dried-on paste | The baking soda adds mild alkalinity that helps dissolve old starch-based paste |
| 1 gallon hot water + soap + baking soda + 1 cup white vinegar | Stubborn, thick, or old glue | The strongest DIY mix; the vinegar smell fades as the wall dries |
| Warm water + fabric softener in a spray bottle | Spot-treating stubborn patches | Smells better than vinegar; spray on, wait 15 minutes, scrape |
| Commercial enzyme wallpaper stripper | Heavy-duty or vinyl-paste jobs | Follow the label exactly; use when DIY mixes stall |
A note on the fabric softener method, since it divides opinion: many DIYers swear by it, and it does soften paste effectively. The trade-off is that softener can leave its own slight residue, so always follow it with a thorough clean-water rinse. Vinegar is the more “honest” cleaner — it evaporates cleanly — but your house will smell like a chip shop for an hour. Your call.
Practical tip: Whatever recipe you use, make it fresh and hot for each new bucket. A cooled, glue-loaded solution is dramatically less effective than a fresh hot one — remaking the mix twice during a room is normal, not wasteful.
How to Handle Stubborn, Dried-On Glue
Some glue doesn’t surrender to the standard method: decades-old paste, extra-strength adhesives, or glue under a wallpaper border that was hung with stronger vinyl-to-vinyl adhesive. Here’s the escalation ladder.
First, just soak longer. Rewet the stubborn patch, lay a damp towel against it for ten minutes to hold the moisture in place, then scrape again. Patience resolves more “impossible” glue than any product. Second, switch to the vinegar mix or the fabric softener spray and give it a full fifteen-minute dwell time — set a timer and walk away rather than hovering.
Third, bring in steam. A wallpaper steamer held against the wall for about thirty seconds per section drives heat deep into the paste layer, softening glue that surface soaking can’t reach. Work in small areas — a few square feet at a time — and scrape while the section is still hot and steamy. Steamers can be rented cheaply for a single job, which makes more sense than buying one you’ll use once.
Fourth, the commercial enzyme stripper, used exactly per its instructions. These products are formulated to break down paste chemistry and they work — but they’re the last resort, not the first, because the DIY methods handle most jobs and cost almost nothing.
And if a patch truly will not come off after all of that? Stop fighting it. Seal it instead: once the wall is clean and dry, coat the stubborn area with a stain-blocking or wallpaper-adhesive-sealing primer, which locks the old paste down so it can’t reactivate under paint. Knowing when to seal rather than scrape is a professional judgment, not a defeat.
How to Tell When All the Glue Is Gone
This is the step that determines whether your paint job survives, so don’t eyeball it — test it. Wait until the wall is completely dry first; wet walls always feel slightly tacky and will fool you.
The hand test is the classic: run your flat palm slowly across the dry wall. Clean drywall feels uniformly smooth and matte. Paste feels tacky, slick, or faintly shiny — sometimes only in patches. Mark any suspect spots lightly with painter’s tape and rewash them.
The cloth test is the backup: wipe a dark-colored damp cloth across a section of the dry wall. If the cloth picks up a cloudy or milky residue, paste remains. A clean wall leaves the cloth essentially clean. Work around the whole room with these two tests before you declare victory — glue loves to hide near ceilings, corners, and behind where furniture stood.
Practical tip: Check in raking light. Hold a bright work light or flashlight nearly parallel to the wall surface — residue and missed patches cast tiny shadows and shine differently than clean drywall. What looks perfect in overhead light can reveal sins in raking light.
What to Do After the Glue Is Gone
You’re not done when the glue is gone — you’re done when the wall is prepped. First, let the walls dry completely, ideally a full 24 hours with decent ventilation. Paint or new wallpaper applied to a damp wall is asking for adhesion failure, and residual moisture can also wake up any microscopic paste traces you missed.
Next, inspect for damage. Glue removal sometimes reveals torn drywall paper, small gouges from overenthusiastic scraping, or nail pops hiding under the old paper. Fill imperfections with lightweight spackle, let it dry, and sand smooth with fine-grit sandpaper. A light overall sanding with 120- to 150-grit paper also knocks down any remaining texture differences and gives primer something to grip.
Finally, prime. On a previously wallpapered wall, primer isn’t optional — it’s the insurance policy. A quality drywall primer (or a stain-blocking primer if you sealed any stubborn patches) creates a uniform, sealed surface that paint bonds to evenly. Skip the primer and you may get flashing — dull and shiny patches where the paint absorbed unevenly into areas of different porosity.
Mistakes That Damage Walls
| Mistake | What Happens | Do This Instead |
|---|---|---|
| Scraping dry, unsoftened glue | Gouges drywall, tears the paper facing, creates repair work | Rewet and wait — if the scraper meets resistance, the glue isn’t ready |
| Soaking drywall excessively | Waterlogged drywall softens, sags, and grows mold-friendly damp | Damp, not dripping; work in small sections and ventilate the room |
| Using a metal scraper aggressively | Deep scratches and gouges in plaster and drywall | Use plastic scrapers; keep the blade nearly flat to the wall |
| Painting over leftover residue | Bubbling, cracking, and peeling within weeks | Hand-test the dry wall; wash again or seal stubborn spots with primer |
| Skipping the clean-water rinse | Soap or softener film interferes with paint adhesion | Always finish with a clean-water wipe and fresh rinse water |
The through-line in every one of these: the wall is more fragile than your frustration. Every damaged wall I’ve seen from this job came from impatience, not from the glue being unbeatable. Slow down, rewet, and let chemistry do the heavy lifting.
Can You Paint Over Wallpaper Glue?
The short answer: No — not if you want the paint to last. Remove the glue first, or at minimum seal it.
Here’s the fuller picture. Standard latex paint is water-based, and water reactivates wallpaper paste. Painted directly over residue, the paste softens underneath the new film, and the paint above it cracks, bubbles, or peels — sometimes within days, sometimes after a few months of humidity cycles. It’s one of the most common causes of paint failure on previously wallpapered walls, and it’s entirely preventable.
The one legitimate exception: if a small area of residue absolutely refuses to wash off after genuine effort, you can seal it with a stain-blocking or shellac-based primer, which forms a barrier the paste can’t migrate through. Then paint normally over the primer. This is a targeted fix for stubborn patches, not a license to skip washing the walls. The 95% of glue that comes off with hot water should come off with hot water.
Frequently Asked Questions
What dissolves wallpaper glue the fastest?
Hot water is the fastest dissolver for standard starch- and cellulose-based pastes — heat plus a little dish soap, given a few minutes to soak, softens most glue quickly. For stubborn paste, adding white vinegar (about a cup per gallon) or using a commercial enzyme stripper speeds things up. Steam is the fastest option for truly resistant areas.
Does vinegar remove wallpaper glue?
Yes. A solution of hot water with about a cup of white vinegar per gallon is one of the most effective DIY approaches for stubborn wallpaper glue. Spray or sponge it on, let it dwell for 10 to 15 minutes, then scrape and rinse. The vinegar odor dissipates as the wall dries.
Can I use fabric softener to remove wallpaper glue?
Yes — it’s a popular DIY method. Mix fabric softener with warm water in a spray bottle, spray the glue, wait about 15 minutes, and scrape the softened paste away. It has a milder smell than vinegar. Just be sure to rinse thoroughly with clean water afterward, since softener can leave its own light film.
How long does it take to remove wallpaper glue from a room?
A typical bedroom takes an afternoon of steady work once you find your rhythm — roughly a few hours of washing and scraping, plus drying time. Heavily glued walls, large rooms, or stubborn old paste can stretch to a full day. The wall then needs about 24 hours to dry fully before painting.
Will wallpaper glue damage drywall?
The glue itself doesn’t damage drywall, but improper removal can: scraping too hard tears the drywall’s paper facing, and excessive soaking softens the gypsum core. Use plastic scrapers, keep the wall damp rather than soaked, and rewet instead of forcing. Minor tears can be sealed with primer and skimmed with joint compound.
Do I need to prime after removing wallpaper glue?
Yes — priming is strongly recommended. Primer seals the freshly cleaned (and possibly unevenly porous) wall surface, locks down any microscopic residue, and gives your topcoat even adhesion. On walls where you sealed stubborn patches, a stain-blocking primer is the right choice.
Conclusion
Removing wallpaper glue is a simple job done well or a simple job done twice. Rewet the paste with hot soapy water, give it time to soften, scrape gently with a plastic blade, wash and rinse in small sections, and verify with the hand test on the dry wall. Escalate to vinegar mixes, longer soaks, or steam for stubborn spots — and seal whatever truly won’t budge. Then let the wall dry, repair, sand, and prime. Follow that sequence and your paint will go onto a clean, sound surface and stay there for years. The sticky wall is temporary; the finish you put over it doesn’t have to be.
Read Also: Parks and Recreation Love Language Test (2026 Guide): Which Character Matches You